
Last updated August 26, 2026
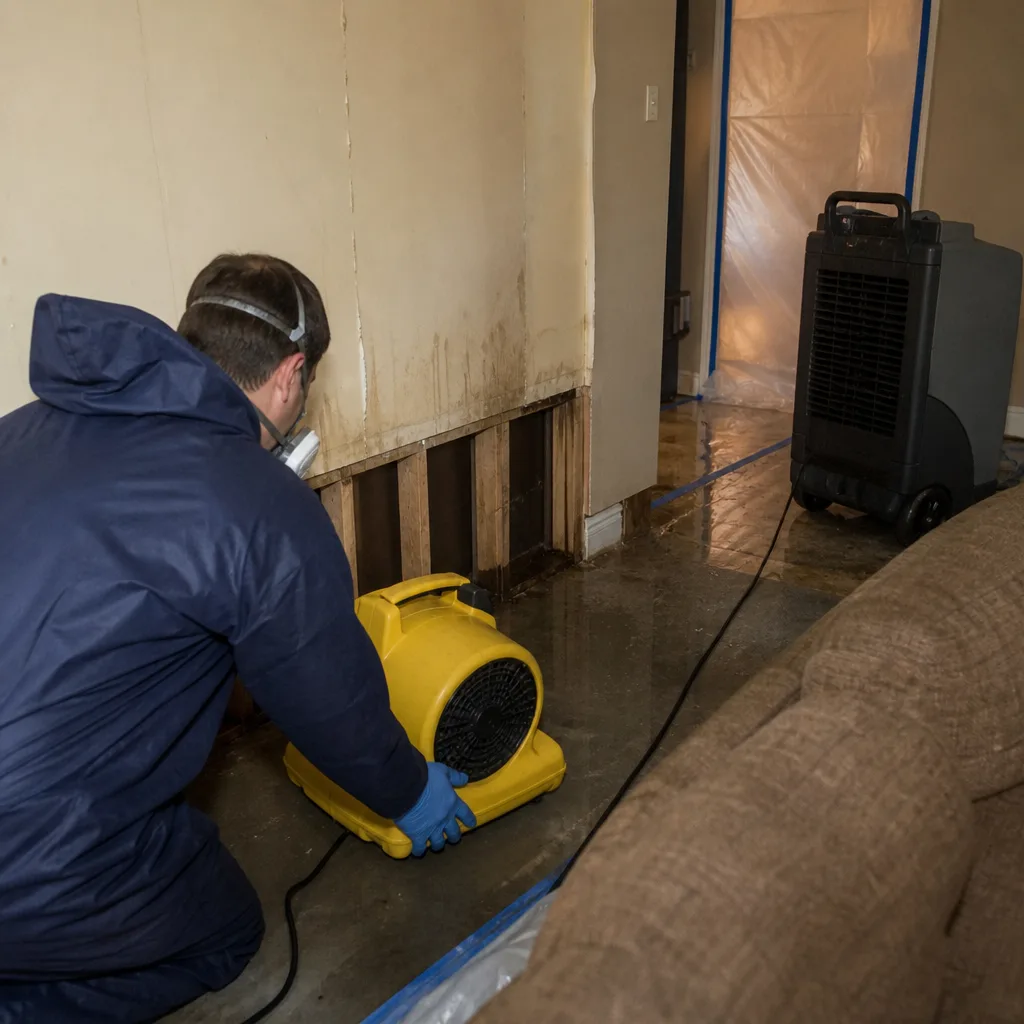
Free visual inspection and a written scope of work before any mitigation begins - photos, moisture readings, and drying logs go in your claim file
The scope we write is the scope we bill. Anything new gets shown to you, in writing, before we touch it.
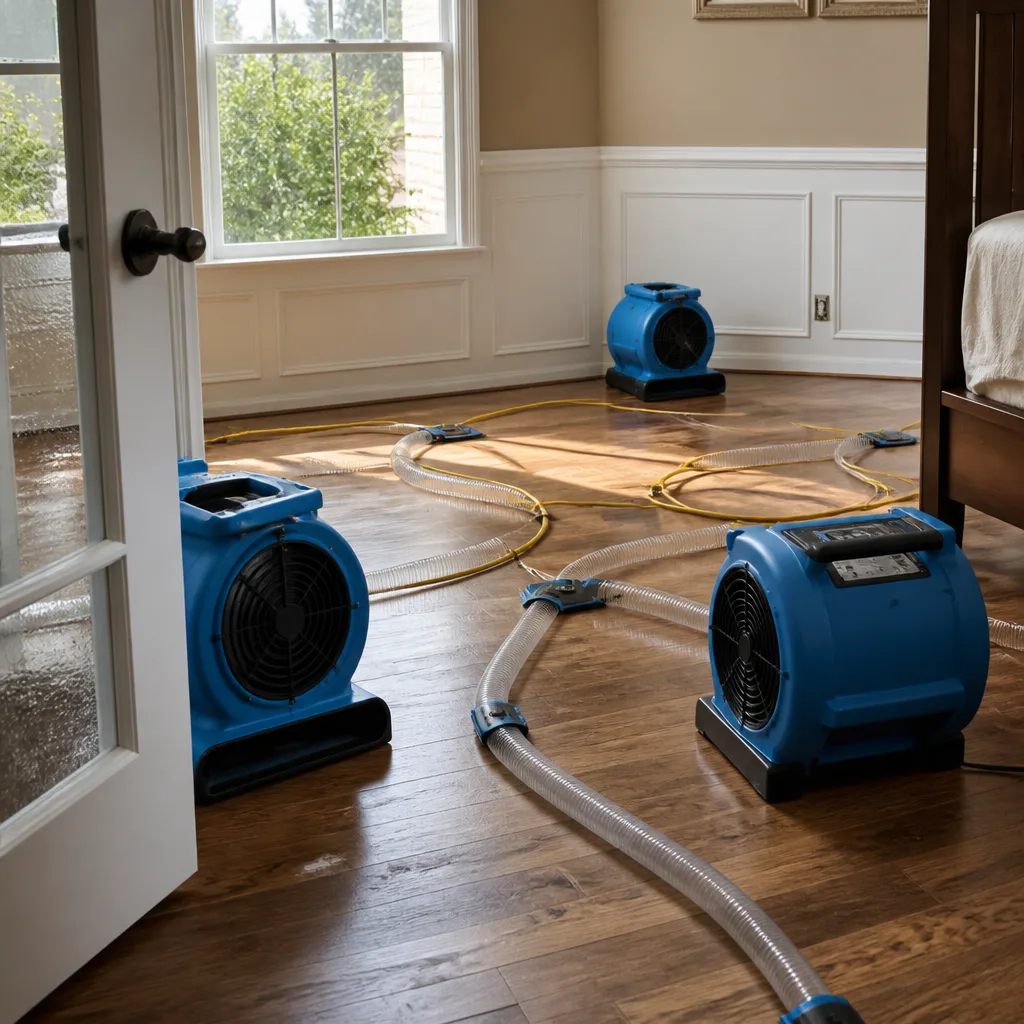

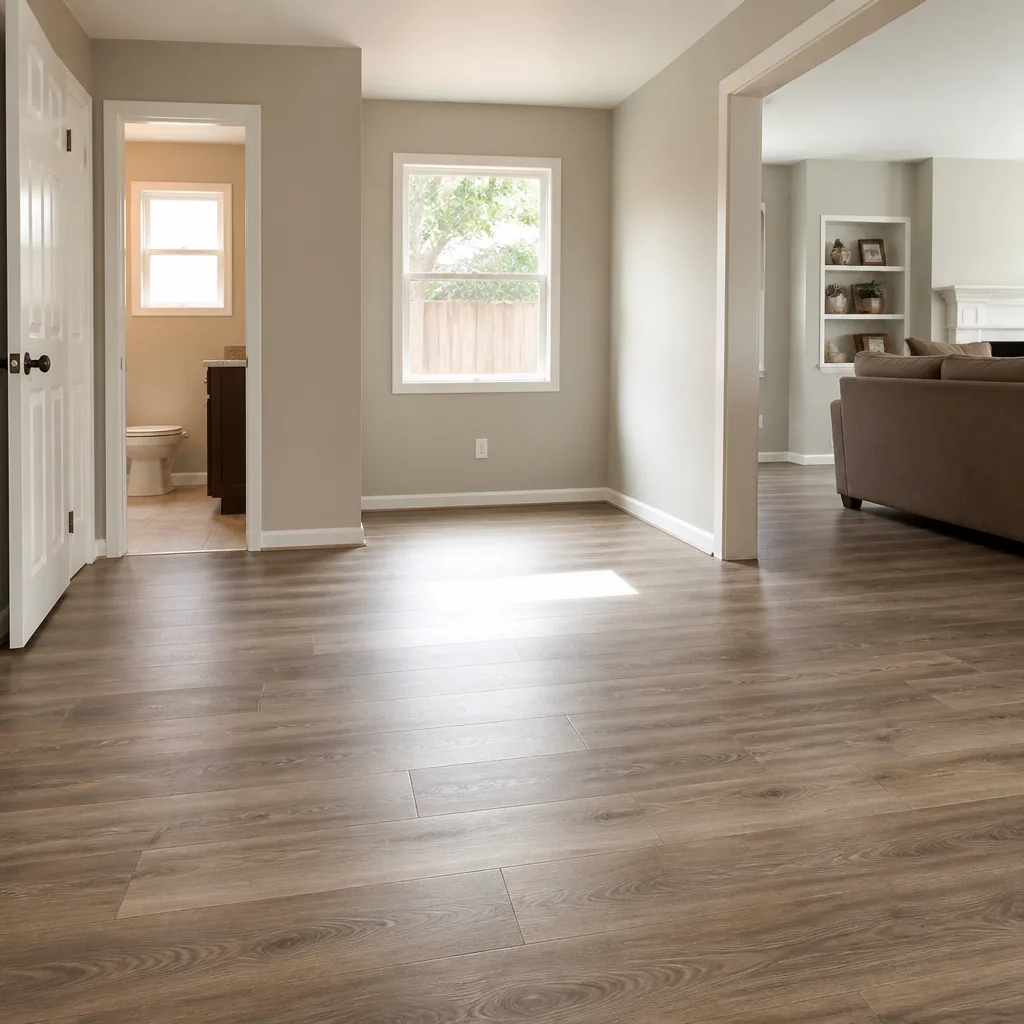

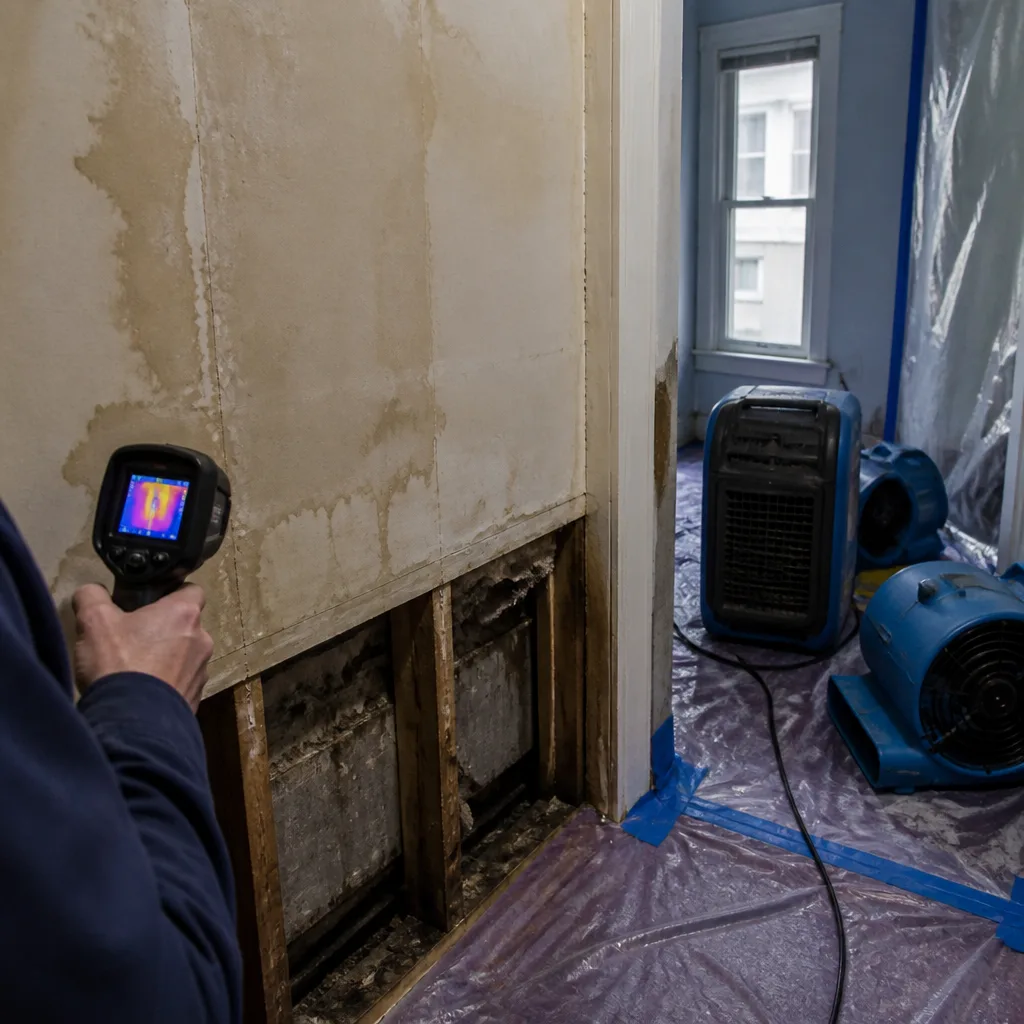 Before
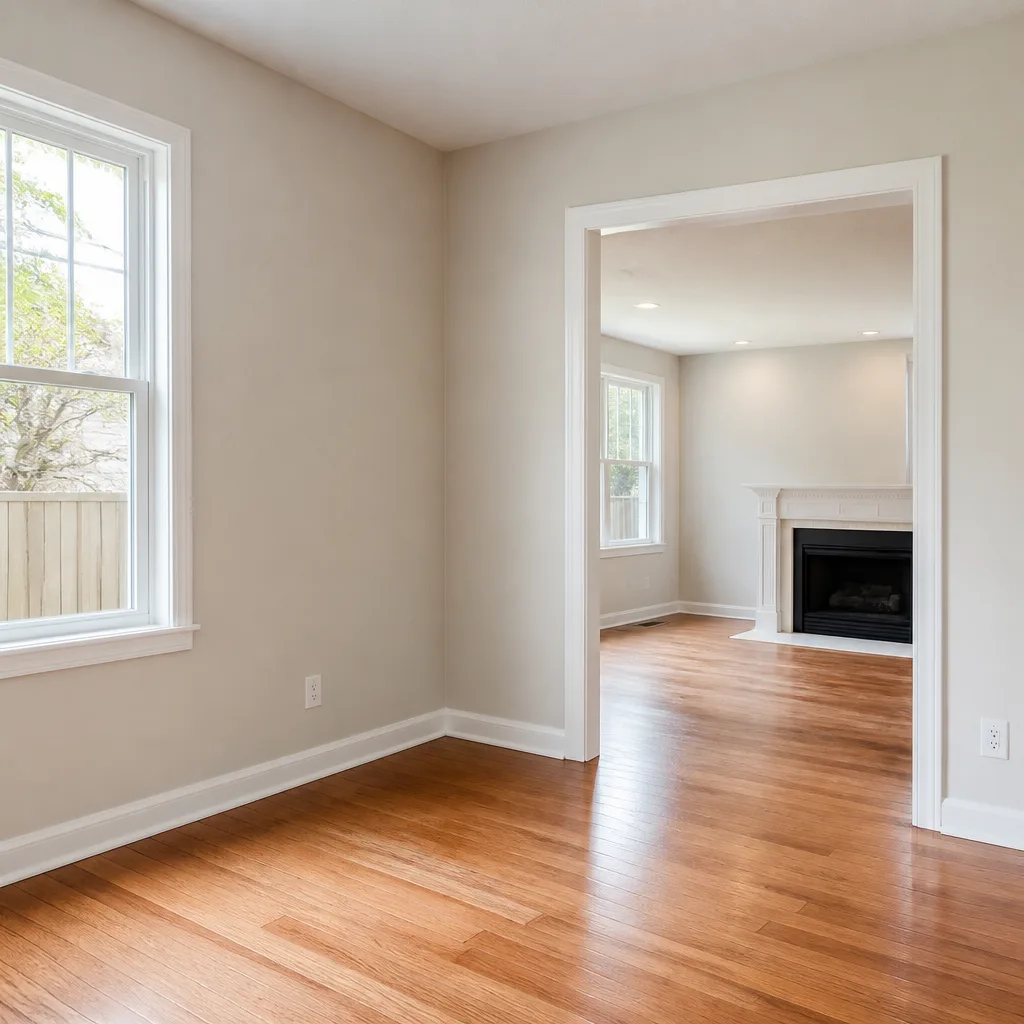
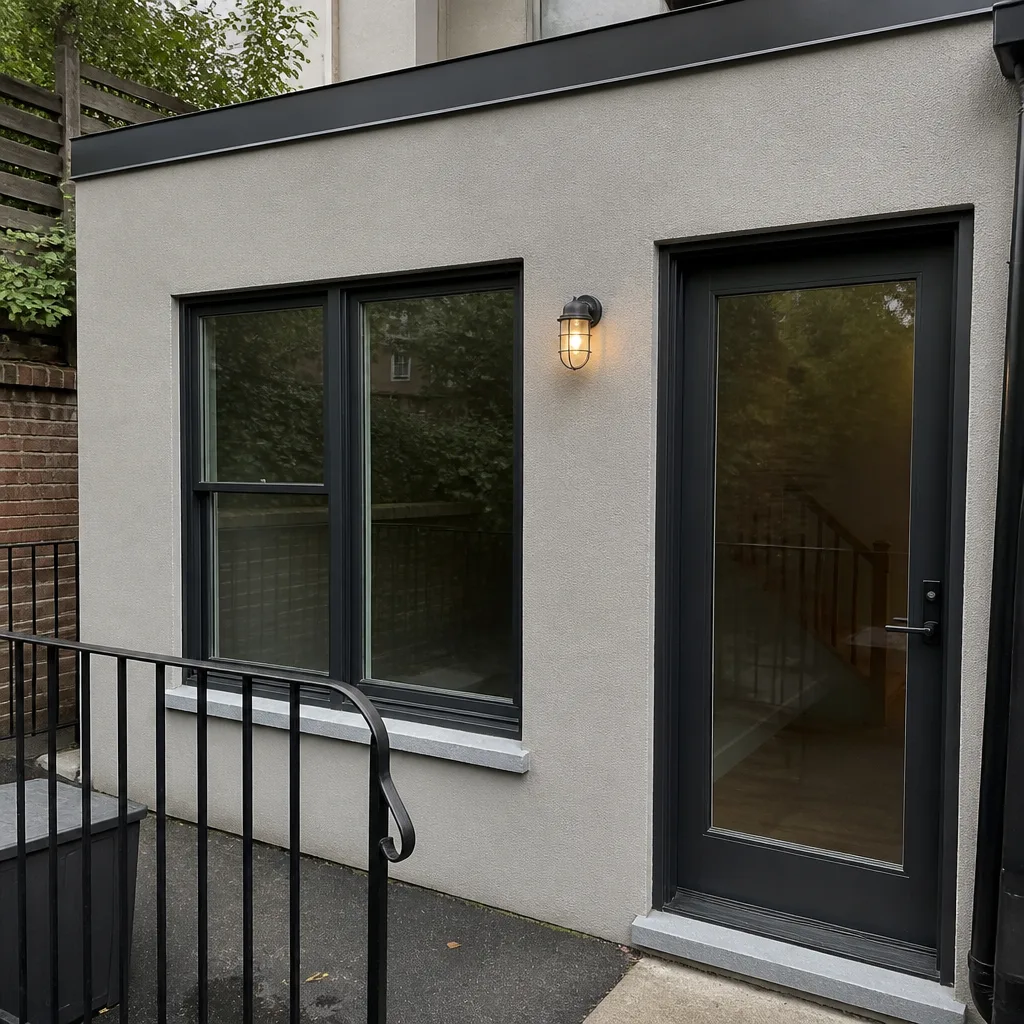 After
After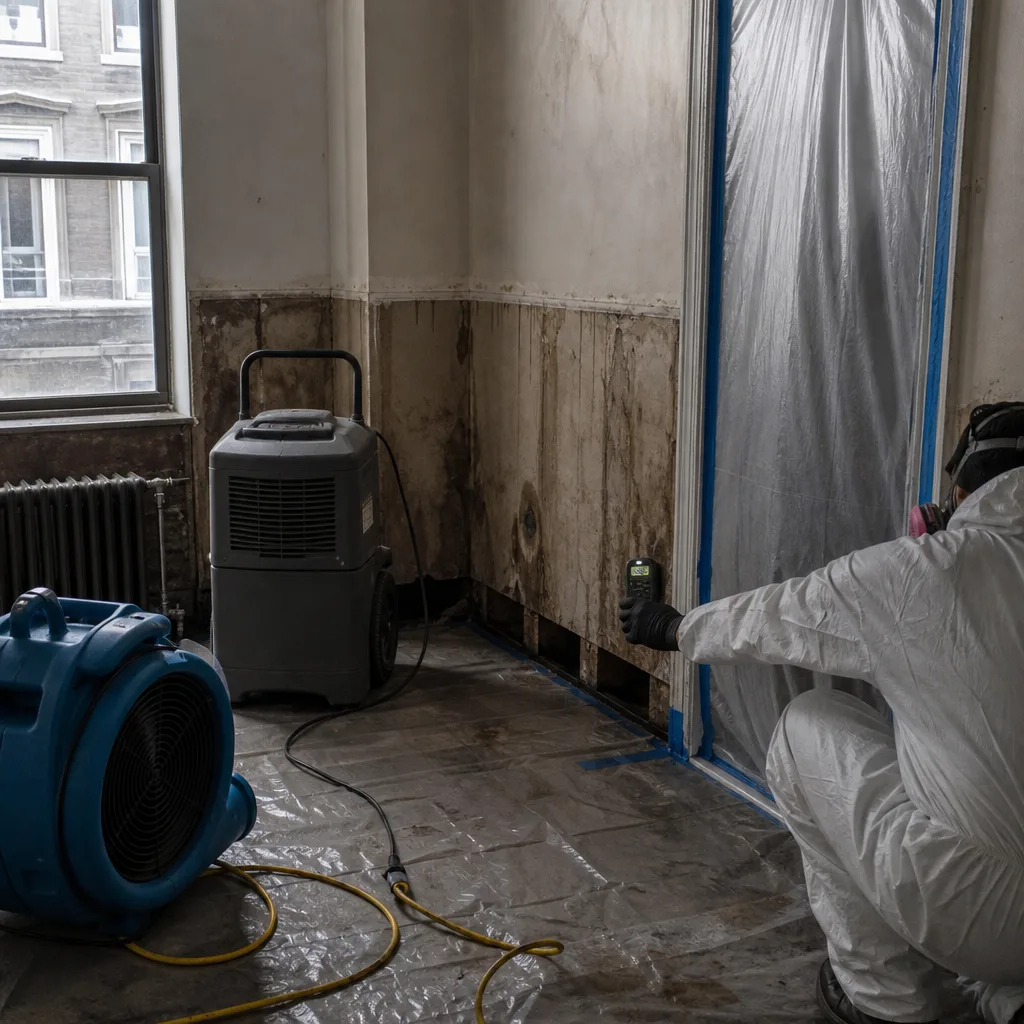 Before
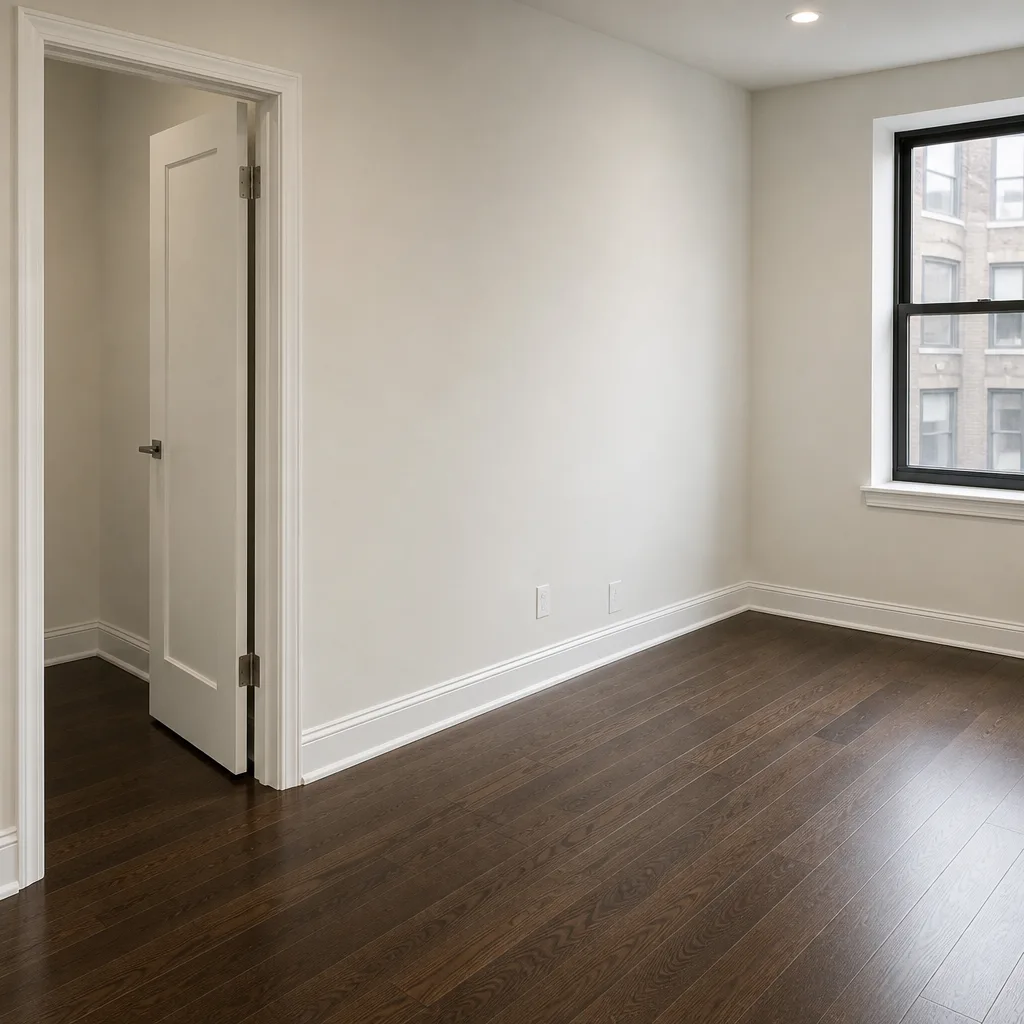 After
After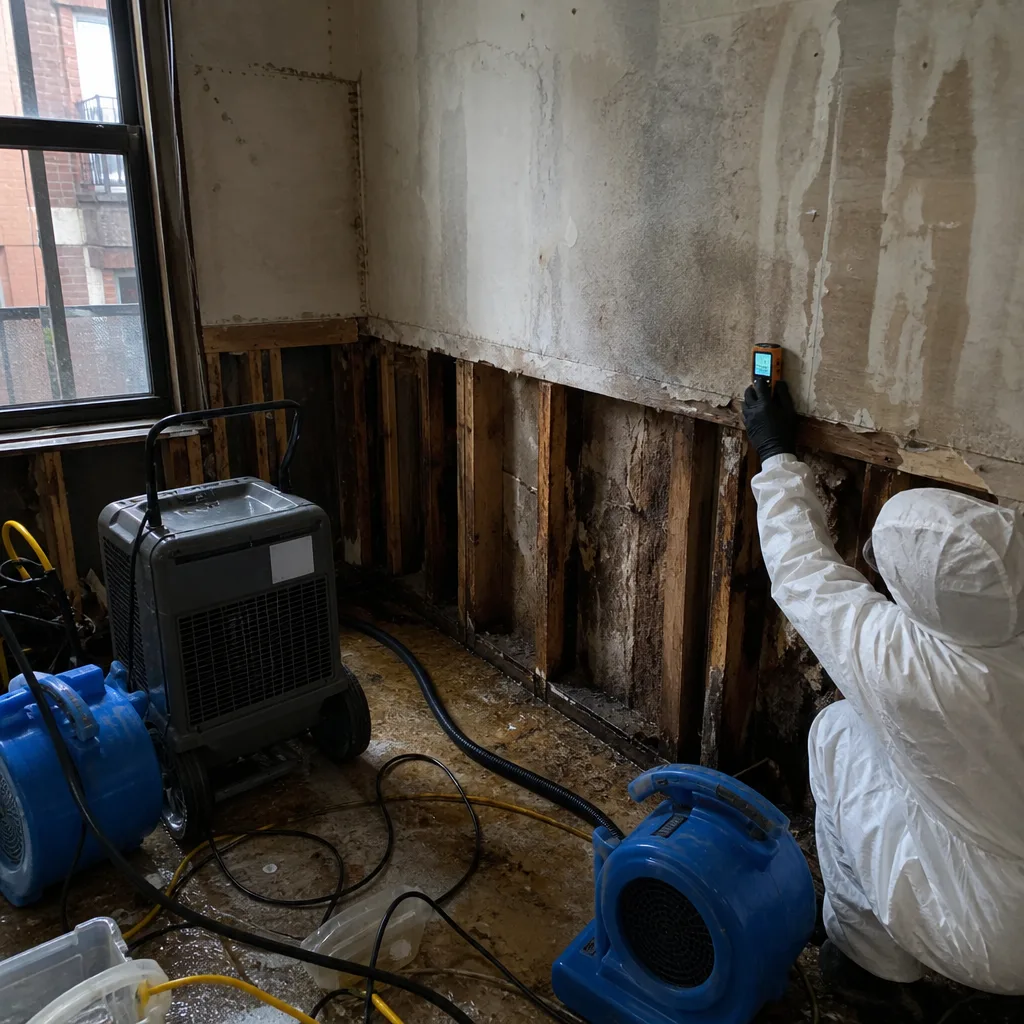 Before
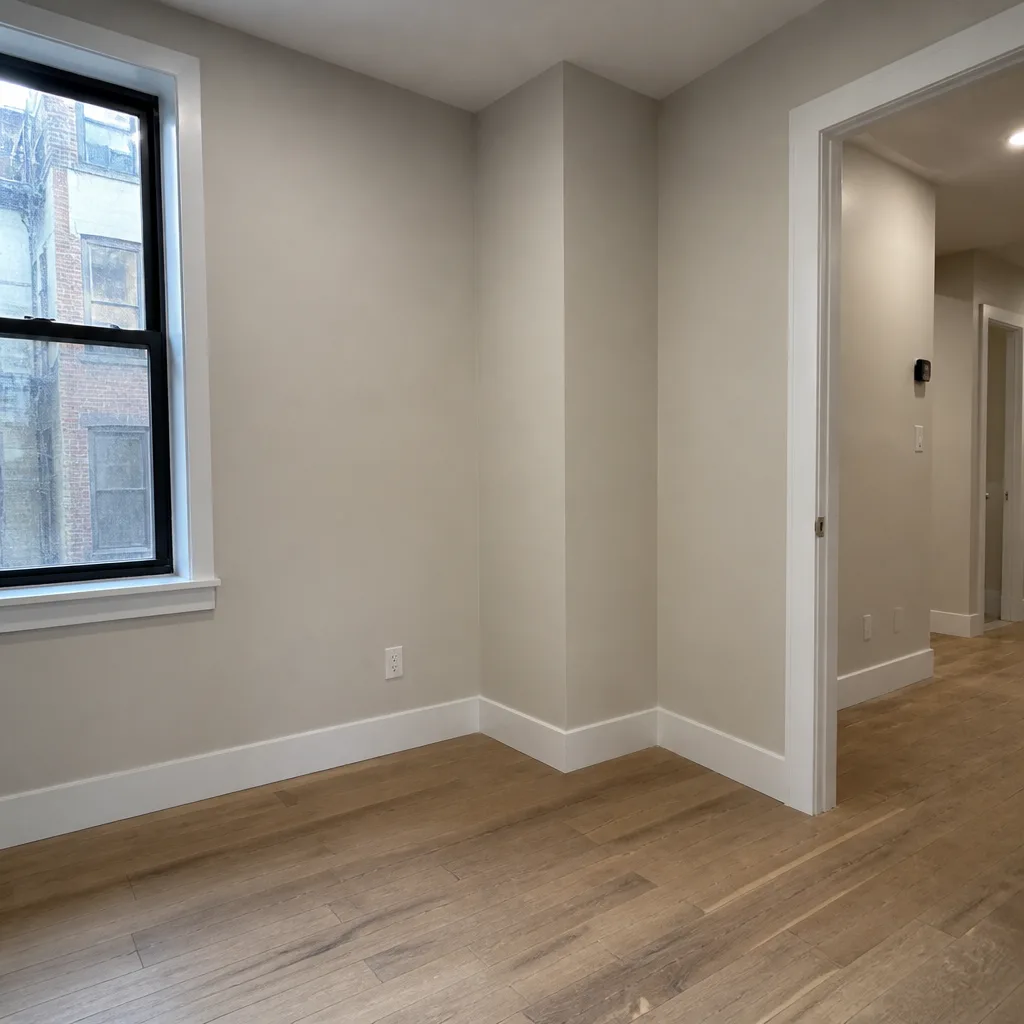 After
AfterDamage Restoration Warning Signs: A Lower Manhattan Homeowner’s Reference Guide
A musty smell that appears only when the HVAC kicks on isn’t a smell problem. It’s a mold problem inside your ductwork, and it means spores are being actively distributed through every room every time the air runs. That distinction matters because it changes what remediation has to cover. This guide is built from nearly two decades of crawling through Lower Manhattan basements, wall cavities, and mechanical rooms. You’ll learn which warning signs get dismissed as cosmetic right up until they’re structural, which ones you can check yourself, and which ones mean the clock is already running. For more context on when to call in a pro, see our DIY vs Professional Damage Restoration: The Lower Manhattan Homeowner’s Decision Guide.
Quick Answer
The most serious damage restoration warning signs in Lower Manhattan are rarely visible. You’re looking for the signals that live inside wall cavities, below slab, and behind mechanical systems: intermittent musty odors tied to HVAC cycling, paint bubbling on interior partition walls, efflorescence that reappears after cleaning, elevated moisture readings on non-exterior walls, and sump pump or backflow preventer behavior that changed after a storm. If you notice any two of these together, water is moving somewhere it shouldn’t be, and the cost to fix it compounds every week it goes unaddressed.
Table of Contents
- Efflorescence vs. Active Water Infiltration: How to Tell the Difference
- Why Interior Paint Bubbles When There’s No Exterior Wall Involved
- Using a Moisture Meter: What Normal Looks Like in Lower Manhattan Buildings
- Three Warning Signs Specific to Post-Sandy Retrofitted Buildings
- Your Building Super: What They Say vs. What They Must Disclose
- The Hidden Danger Zones: Wall Cavities, Ductwork, and Below-Slab
- Common Mistakes to Avoid
- When to Call a Professional
- Frequently Asked Questions
- The Bottom Line
Efflorescence vs. Active Water Infiltration: How to Tell the Difference
White chalky deposits on your brick or concrete foundation wall are either a cosmetic annoyance or the first visible evidence of an ongoing water problem. In Lower Manhattan, where much of the housing stock predates modern waterproofing, this distinction matters a lot. Efflorescence happens when water moves through masonry, dissolves the natural salts inside, and deposits them on the surface as the water evaporates. The key question isn’t whether you have efflorescence. It’s whether the water that caused it is still moving.
Cosmetic efflorescence is typically old, powdery, and stable. It sits on the surface. If you brush it away and it doesn’t return within a few weeks, the water source that created it has likely been corrected or was a one-time event like a past leak or original construction moisture. Older Lower Manhattan buildings, especially those with fieldstone or early brick foundations, often carry decades-old efflorescence that hasn’t changed since the Eisenhower administration.
Active water infiltration looks similar but behaves differently. Here’s what we’ve learned after years of doing water damage restoration in Lower Manhattan:
- Active deposits feel damp or slightly tacky to the touch, even when the rest of the wall is dry
- They reappear within days or weeks after you clean them
- The pattern shifts and spreads over time
- You may see dark staining around the edges where water is wicking laterally
- Concrete or masonry spalling (chips, flakes, or crumbling) is present nearby
Here’s the most reliable test we can offer without being there in person: clean a small area with a stiff brush, mark it with painter’s tape, and photograph it with your phone every week for a month. If the deposit returns, that’s not a cleaning problem. That’s water actively moving through the wall assembly. In Lower Manhattan’s high water table and tight lot lines, that usually means a below-grade leak, failed waterproofing, or a drainage issue that isn’t going to fix itself.
What it means for your home: Active efflorescence is a signal that your masonry is acting like a wick. Left alone, it’ll be joined by framing rot, mold on the interior side of the wall, and eventually, structural degradation of the mortar joints themselves. You can’t waterproof a wall from the inside with paint, no matter what the can says. The water has to be stopped at the source.
Why Interior Paint Bubbles When There’s No Exterior Wall Involved
Paint bubbling on an exterior-facing wall usually points to outside water getting in: a roof leak, failing caulk around a window, cracked stucco, or a gutter problem. That’s the explanation most homeowners and most handymen reach for first. But when paint bubbles, blisters, or peels on an interior partition wall that doesn’t touch the exterior, the cause is almost never humidity. It’s plumbing.
In a Lower Manhattan floor plan, where walls are shared, floors are stack upon stack, and pipes run through walls and chases that connect units vertically, the likely source is one of these:
- A supply line leak inside the wall cavity. Copper and older galvanized pipes develop pinhole leaks, especially at fittings. The water escapes at pressure and travels along the pipe before dripping, so the water damage may be several feet from the actual leak.
- A drain line failure. Cast iron waste pipes in pre-war Lower Manhattan buildings are now 80 to 100 years old and nearing the end of their service life. They crack along the top, then leak when the line is full. The damage appears as a vertical stain or bubbling pattern below the bathroom or kitchen on the floor beneath.
- Condensation on a cold water line. If the pipe isn’t insulated and runs through a humid cavity, it sweats. In a wall, that moisture has nowhere to go. It collects, soaks the drywall from behind, and pushes the paint off the surface.
- A leak in the unit above. Water from an upstairs neighbor’s dishwasher, tub, or toilet supply follows the path of least resistance, which is usually down through the wall cavity and out the first seam it finds.
The reason this distinction matters is speed. If you assume humidity and run a dehumidifier, you’re treating the symptom and risking mold inside the wall cavity. A bubbling patch the size of your hand can hide three times that area of water-damaged drywall behind it. And in our experience with mold remediation in Lower Manhattan, mold starts colonizing inside a damp wall cavity within 48 to 72 hours.
What to do: Take a photo. Draw a pencil line around the edge of the bubbling. If the line is crossed within a few days, the water is actively moving. That’s a call-you-now situation, not a keep-an-eye-on-it situation.
Using a Moisture Meter: What Normal Looks Like in Lower Manhattan Buildings
You don’t need to be a restoration professional to take useful moisture readings. A basic pinless moisture meter costs between $30 and $80 at any hardware store and will give you a number you can compare against a baseline. The trick is knowing what “normal” means for your building, because a number that’s alarming in a suburban ranch house is a Tuesday in a pre-war Lower Manhattan basement.
Here’s the process we recommend to every homeowner we serve:
- Buy a pinless meter with a relative scale. Pinless meters send a radio frequency into the material and return a reading without leaving holes in your walls. Pin-type meters are more precise but leave pinholes, which is a problem if you’re testing finished drywall.
- Establish your baseline before you suspect a problem. Take readings in 10 to 12 locations around your home: interior walls, exterior walls, ceilings, floors, and any basement or cellar surfaces. Write them down with the date and note the material (drywall, plaster, concrete, wood).
- Take readings on the same surfaces every month. A single reading tells you almost nothing. A reading that climbs 15 to 20 percent over three months tells you water is accumulating somewhere.
- Know the numbers. Drywall and wood in a properly conditioned Lower Manhattan interior typically read 5 to 12 percent on a relative scale. Concrete below grade can read 15 to 25 percent without necessarily signaling a problem because concrete is porous and naturally wicks ground moisture. The red flag is a surface that reads consistently 20 to 30 percent higher than similar surfaces in other parts of your home, or any single reading above 20 percent on drywall.
What changes the math in Lower Manhattan is the water table and the prevalence of below-grade living space. Buildings close to the Battery and the East River sit on fill and reclaimed land. Sub-grade walls in those buildings will read wetter than identical walls 20 blocks inland. That’s why your baseline matters more than any universal standard.
When a number is actually elevated: If an interior partition wall reads 18 percent or higher while the wall next to it reads 9 percent, water is entering or condensing inside that specific cavity. If a ceiling below a bathroom reads 25 percent while the closet ceiling reads 10, you have a leak in that specific chase. The pattern is the evidence, not the single reading.
We take moisture readings daily on every restoration job and hand the full log to the homeowner at the end. You deserve to know the numbers that drove the decisions, not just a verbal summary. Daily documentation is the difference between guessing and knowing.
Three Warning Signs Specific to Post-Sandy Retrofitted Buildings
Superstorm Sandy changed how Lower Manhattan buildings handle water. Thousands of buildings were retrofitted with flood vents, sump pumps, backflow preventers, and raised mechanical systems in the years after 2012. Those retrofits are now 10 to 13 years old, and a lot of them are failing quietly. Here are the three warning signs we see most often in buildings that went through post-Sandy upgrades.
1. Flood vent failures. Flood vents are designed to let flood water flow through foundation walls instead of pushing them over. They have baffles, louvers, or doors that swing open under water pressure. After years of exposure to Lower Manhattan’s salt air and winter road salt, the hinges corrode, the seals dry out, and the vents stop opening or stop closing. A flood vent that’s stuck open lets groundwater, rodents, and insects in during normal weather. A vent that’s stuck closed becomes a solid wall in the next flood event. Check your flood vents every spring for corrosion, debris blockages, and free movement of the door or baffle. If the louvers don’t swing freely or show green or white corrosion at the hinge points, replace them before the next storm season.
2. Sump pump cycling irregularities. A properly functioning sump pump in a Lower Manhattan cellar should be predictable. It kicks on when the pit fills to a set level and runs until the pit is nearly empty. The warning signs are in the irregularity. If the pump starts cycling every 30 seconds for an hour and then goes quiet for days, the float switch may be sticking or groundwater is entering in irregular pulses tied to tide cycles. If it runs continuously for hours during a rainstorm, it may be undersized for the water volume. If you haven’t heard it run at all during a wet month, it may have failed silently. Test your pump quarterly by dumping a 5-gallon bucket of water into the pit. If it doesn’t kick on and clear the water within 30 seconds, you have a problem. A backup sump pump or a water-powered backup is cheap insurance in a building where a failed pump means water on the floor within hours.
3. Backflow preventer corrosion. Backflow preventers keep sewage and contaminated water from flowing back into a building during a flood or sewer surcharge. They’re brass, stainless steel, or ductile iron with internal check valves and testing ports. After a decade in a damp Lower Manhattan cellar, especially with exposure to salt air, the valves corrode from the inside out. Exterior green or white crust at the housing joints is the visible warning sign. The invisible one is an internal check valve that no longer seats fully, which means the device silently stops protecting the building while looking fine from the outside. Backflow preventers in New York City require annual testing by a certified tester. If your building hasn’t had the test done, or if the records are kept by a building management company that can’t produce them, call a licensed plumber. This is one component where the inspection requirement exists because failure has contaminated drinking water supplies in real buildings.
Your Building Super: What They Say vs. What They Must Legally Disclose
In a Lower Manhattan co-op, condo, or rental building, your building super is your first line of defense when something seems wrong. But supers are also gatekeepers for building management, and many have learned that reporting every water concern upward creates work and questions. What a super says and what they’re legally required to disclose under New York City rules are not always the same thing.
What the super might say: “It’s just condensation.” “That’s normal for an old building.” “The last tenant had the same thing, it’s nothing.” “I’ll take a look when I get a chance.” These responses don’t necessarily mean the super is negligent. They may genuinely believe what they’re saying. But the law doesn’t care what anyone believes. It cares what’s documented.
What the super must legally handle: Under the NYC Housing Maintenance Code and Article 4 of the Multiple Dwelling Law, building owners are required to maintain apartments free from dampness, leaks, and conditions that cause mold. NYC Local Law 55 of 2018 strengthened mold notification requirements in multi-unit residential buildings. Owners must investigate reported mold, document the findings, and remediate verified mold conditions. Leaks and water damage that affect multiple units or building systems must be addressed by the building, not the individual tenant or shareholder.
How to create a record before the damage is visible:
- Report the concern in writing. Email, not a phone call or hallway conversation. State what you’re seeing or smelling: “There is a musty odor when the HVAC runs,” or “Paint is bubbling on the wall between the bathroom and the living room.” Date it. Save the sent copy.
- Request a written response. Ask the super or property manager to reply by email confirming they’ve logged the concern. If they won’t, follow up with a summary email: “Confirming our conversation of today at 9 a.m., I reported a persistent damp smell in the second bedroom and requested an inspection.” The follow-up email is your documentation even if they never respond.
- Photograph everything. Use the date-stamp function on your phone camera. Take photos from multiple angles. Take a video that shows the context so a viewer can see exactly where in the apartment the issue is.
- Escalate if nothing happens. If you’ve given written notice and 30 days pass without an inspection or a reasonable response, contact the building’s managing agent in writing. If that fails, the NYC Department of Housing Preservation and Development is the next step. Mold complaints to HPD are a recognized complaint type under Local Law 55.
You’re not building this record to punish anyone. You’re building it because once water damage becomes visible, insurance companies, building management, and contractors all ask the same question: when did this first appear, and who knew about it. A dated email trail answers both.
The Hidden Danger Zones: Wall Cavities, Ductwork, and Below-Slab
In our experience working through fire and smoke damage restoration in Lower Manhattan, we see the same pattern repeat in building after building: the damage that ends up costing the most money is almost never visible at the outset. It’s inside the cavity, inside the duct, under the floor. Here’s what to know about the three most expensive hidden zones.
Wall cavities. The space inside a wall is an ecosystem. It’s dark, it’s usually the right temperature, and if there’s moisture present, it’s the perfect environment for mold. You will not see mold growing inside a wall cavity until it has consumed the back side of the drywall and started blooming through the front. By then, a problem that could have been addressed with a small opening and targeted treatment requires full wall removal. Warning signs that a wall cavity is holding water: the wall feels cool in a specific area when adjacent walls feel room temperature (water conducts heat away from the surface), there’s a subtle swelling along the drywall seam, or the baseboard has started pulling away from the floor in one area while the rest of the room looks fine.
Ductwork. Ducts move air, and in a closed Lower Manhattan apartment, that air gets recirculated many times per day. When condensation forms inside a duct run, or when a small leak somewhere in the building introduces moisture into the return path, mold can establish itself in the duct liner or on the duct surfaces. The first indication is usually the HVAC smell we mentioned at the top of this guide. The second is what looks like constant dust accumulation near supply registers even after cleaning. That’s not dust. That’s mold spores and fragmented hyphae being distributed through the air. A professional duct inspection with a camera scope is the only way to confirm what’s inside. In our remediation work, we’ve found colonies in duct runs that had never been cleaned since the building was converted to residential use.
Below-slab. Water under a concrete slab doesn’t reveal itself visually. It moves laterally, saturates the crushed stone base, and can destabilize the slab or wick up through the concrete into flooring, subfloor, and anything sitting on it. Warning signs of water below slab: persistent musty odor in a basement that persists after the air has been dried, dampness at the slab-to-wall junction that moves or changes size, floor coverings that bubble or lift in a low-traffic area, and cracks in the slab that appear damp at the edges even when it hasn’t rained. Below-slab water is not a DIY problem. It requires professional equipment (we use professional-grade Dri-Eaz, Phoenix, and Injectidry systems for water damage jobs) and it usually requires opening the slab to dry the subgrade properly. Patching the surface without drying the subgrade guarantees future flooring failure.
How Lower Manhattan Building Types Affect What You Should Watch
Not every Lower Manhattan building behaves the same way, and the warning signs that matter vary by building type. A pre-war walk-up in the East Village or Lower East Side shares a water management profile with its 1920s-era plumbing and masonry structure, not with the glass high-rise around the corner.
Pre-war walk-ups and tenement buildings typically have cast iron waste lines that are at or beyond their service life. The telltale sign of failure is often a recurring wet spot on the ceiling of a lower-floor apartment that appears only when an upper unit runs a bath or a washing machine. These buildings also often have original roof membranes and parapet flashings that need attention after decades of freeze-thaw cycles. Watch for water stains that appear after the first rain following a dry period, which suggests a roof or parapet leak rather than a plumbing problem.
Mid-century and newer high-rise buildings are more likely to have HVAC-related moisture problems. Chilled water lines for the building’s cooling system run inside walls and above ceilings. When the insulation around those lines degrades, condensation collects and damages ceiling tiles and wallboard in patterns that get worse during the summer cooling season. Watch for wet ceiling tiles or brown staining in the ceiling of your unit when you haven’t had any rain in a week and no one above you has reported a plumbing leak.
Converted commercial or industrial buildings present unique issues. A factory floor converted to residential lofts in the 1980s or 1990s often has drainage lines and plumbing chases that were adapted to existing conditions, not built for them. Low-slope roofs over these buildings with mechanical equipment sitting on curbs are prone to flashing failures. Watch for water staining around interior columns, which often carry roof drains inside the column chase, and pay attention to any change in the pitch or slope of the floor.
Knowing what’s normal for your building type matters because it tells you which warning signs to take seriously and which are likely annoyances. A wet ceiling below a bathroom in a pre-war walk-up is probably a drain line leak. The same wet ceiling in a modern high-rise is probably a condensation problem on a chilled water line. Both are real problems. They just require different investigations.
Common Mistakes to Avoid
- Painting over a stain. A water stain on a ceiling or wall that is painted over without finding and fixing the source will reappear, usually with mold behind it. Paint also seals moisture into the drywall, making the hidden problem worse. Fix the source, dry the cavity, then paint.
- Assuming a dehumidifier solves everything. A dehumidifier removes moisture from the air. It doesn’t remove moisture from inside a wall cavity or under a slab. It’s a bandage, not a cure.
- Waiting until the smell is constant. Intermittent musty odors tied to HVAC cycling or specific weather conditions are early-stage warnings. By the time the smell is constant, the mold colony is established and likely spreading.
- Trusting the “it’s normal for old buildings” explanation. Old buildings have quirks. Active water intrusion is not a quirk. If water is moving into your space, it’s a defect that will get more expensive the longer you wait.
- Cleaning visible mold with bleach and calling it done. Bleach kills surface mold but doesn’t address the moisture that’s feeding the colony. The mold will return, and the bleach itself introduces moisture into the material. Professional mold remediation in Lower Manhattan addresses the source, not just the symptom.
- Not documenting your complaint to the building. A verbal report to the super that’s forgotten within a week doesn’t protect you. A dated email creates a record that matters for insurance claims, HPD complaints, and your own protection.
- Skimming on the inspection. After any water event in a Lower Manhattan building, the hidden cavities are where the long-term damage happens. A visual inspection isn’t enough. Moisture readings, thermal imaging, and sometimes a small test opening are the difference between finding a problem early and discovering it after it’s grown.
When to Call a Professional
Call a professional when you have a moisture reading above 20 percent on drywall or wood, when paint bubbling spreads beyond the line you marked, when the musty smell persists after you’ve cleaned and dried the visible surfaces, or when any water intrusion has been present for more than 72 hours. In a Lower Manhattan building with shared walls and vertical plumbing, water that you can see is usually the minority of the water that’s present. The cavity behind the damage is where mold establishes itself, and the clock is running from the moment the water first appears. Wade’s Restoration offers free estimates in Lower Manhattan. Call (607) 350-1550 and we’ll tell you honestly whether you’ve got a problem that needs professional equipment or something you can handle yourself.
Frequently Asked Questions
Water damage repair in Lower Manhattan typically costs between $2,500 and $8,500 for a contained residential water event involving a burst pipe or plumbing leak, with costs running higher when wall cavities or below-slab areas require opening and drying. The final cost depends on the size of the affected area, how long the water was present, what materials need removal and replacement, and whether mold has started. Call (607) 350-1550 for an exact quote. Estimates are free.
Most standard homeowners and condo policies cover water damage from sudden and accidental pipe leaks, but not from gradual leaks that went unreported, and not from rising groundwater or flood events unless you have separate flood coverage. Your insurer will ask when you first noticed the problem and what steps you took. This is why documenting the concern when you first see it matters so much. Wade deals with insurance adjusters directly, so you’re never the one relaying technical details between two sides.
In a water damage emergency in Lower Manhattan, Wade Ferris answers his own phone and can generally have extraction equipment running within the hour. Water migrating through floor assemblies and wall cavities does measurably more damage every hour it’s left to sit. The faster the water is removed and the drying process starts, the less the repair will ultimately cost.
Mold remediation in a typical Manhattan apartment takes between three and seven days for the average contained problem, including containment setup, removal of affected materials, HEPA cleaning, and post-remediation verification. Larger infestations involving multiple rooms or ductwork take longer. We write out the scope before work starts so you know exactly what’s being done and why.
If visible mold covers more than about 10 square feet, if mold is present inside a wall cavity or ductwork, or if the water source hasn’t been identified and fixed, you need professional remediation, not surface cleaning. Surface cleaning kills what’s visible but leaves the colony alive inside the material. The mold will return. For smaller areas on non-porous surfaces with a confirmed fix of the water source, a thorough professional cleaning may be sufficient. We’ll tell you honestly which situation you’re in. That’s the job.
Wade Ferris deals with your adjuster directly. We document the moisture readings daily, photograph everything, and provide the written scope and drying log your adjuster needs to process the claim. You shouldn’t have to become a restoration expert to get your claim paid. That’s part of the job we signed up for when we started serving Lower Manhattan in 2007, and it’s one of the main reasons people call us instead of a national chain.
The Bottom Line
The most expensive restoration problems in Lower Manhattan homes are the ones you can’t see. They grow inside wall cavities, under slabs, and inside ductwork while the visible surface looks fine. The warning signs are subtle: intermittent musty odors, paint bubbling on interior walls, efflorescence that returns after cleaning, moisture readings that climb month over month, and retrofitted flood protection systems that stopped working quietly. Learn your baseline numbers. Document your reports to building management in writing. Call a professional when the pattern changes. And if you’re in Lower Manhattan, call (607) 350-1550. Free estimates. Honest answers. A name on the truck, not a brand on a franchise agreement. For more guides & resources, visit our blog.
Written by Wade Ferris, Owner at Wade’s Restoration, serving Lower Manhattan since 2007.