
Last updated August 26, 2026
Free visual inspection and a written scope of work before any mitigation begins - photos, moisture readings, and drying logs go in your claim file
The scope we write is the scope we bill. Anything new gets shown to you, in writing, before we touch it.
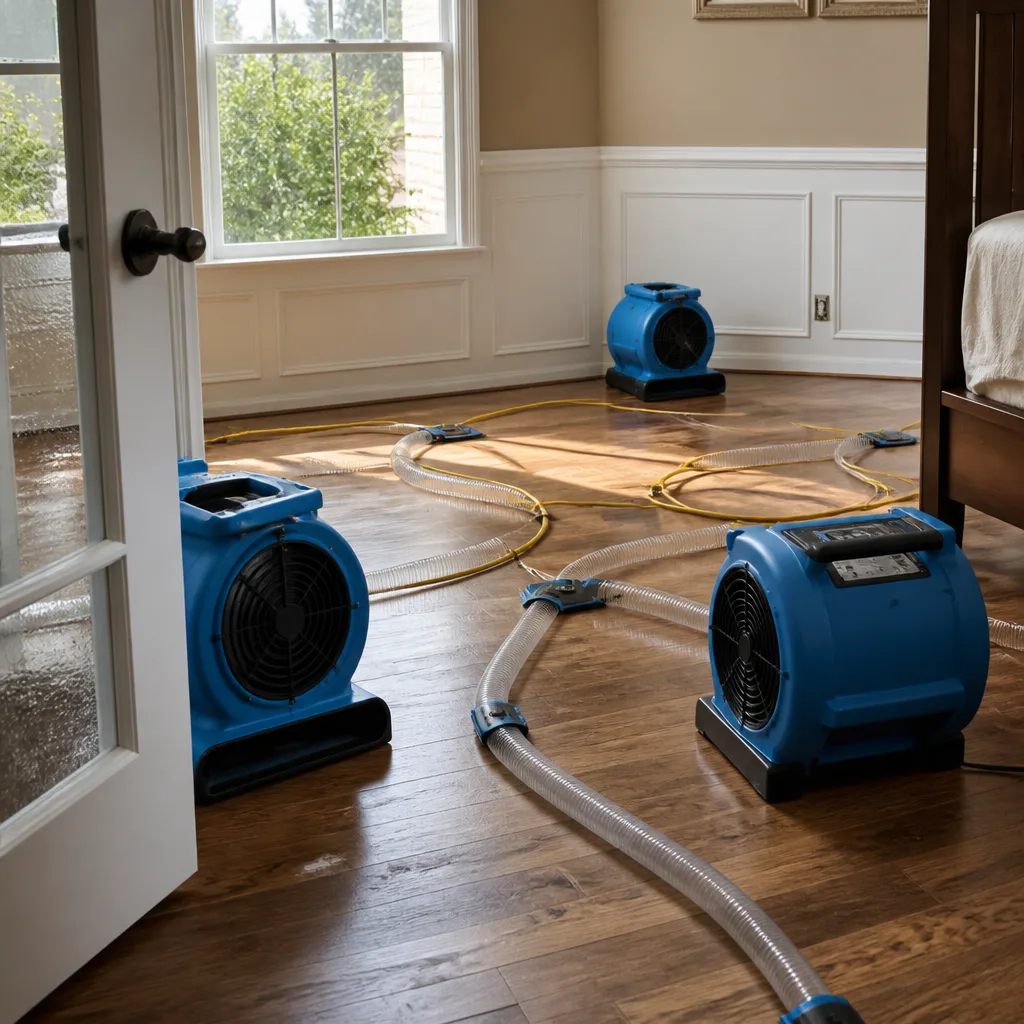

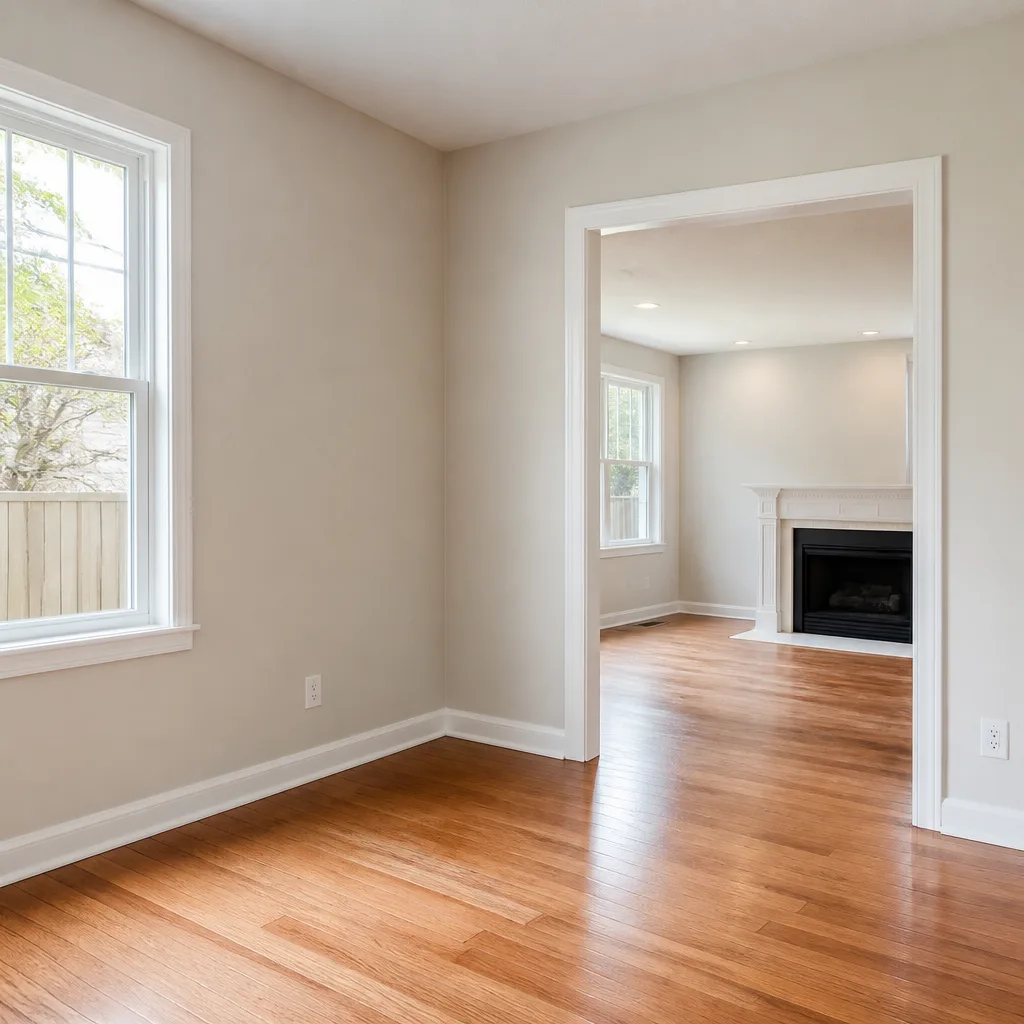
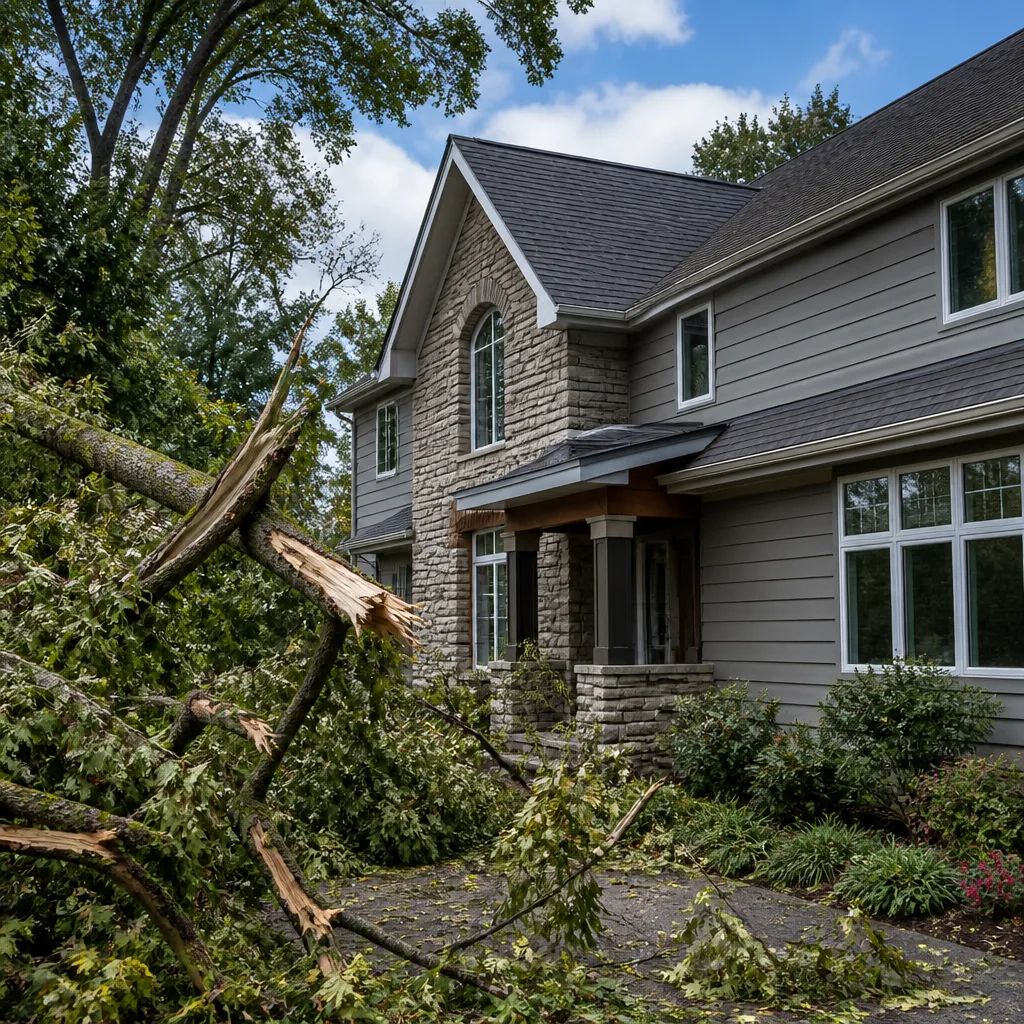


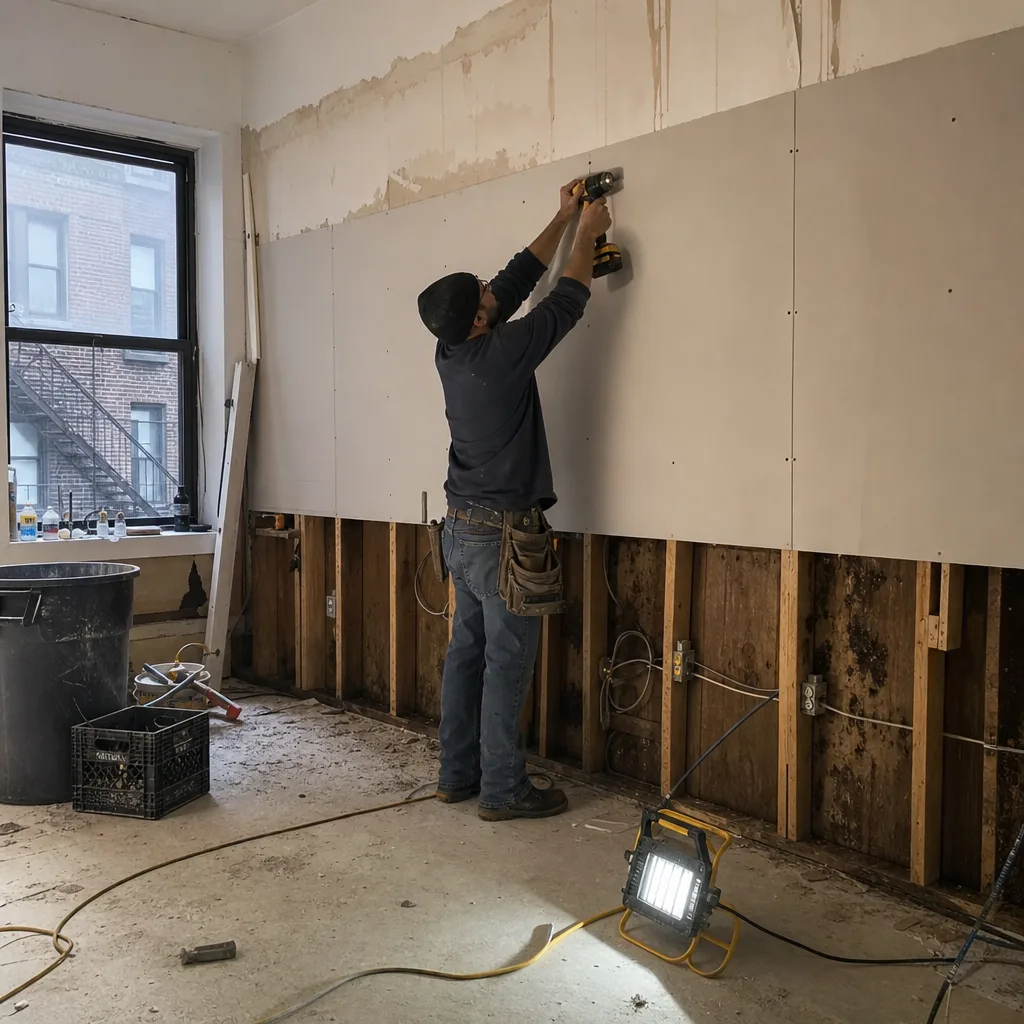
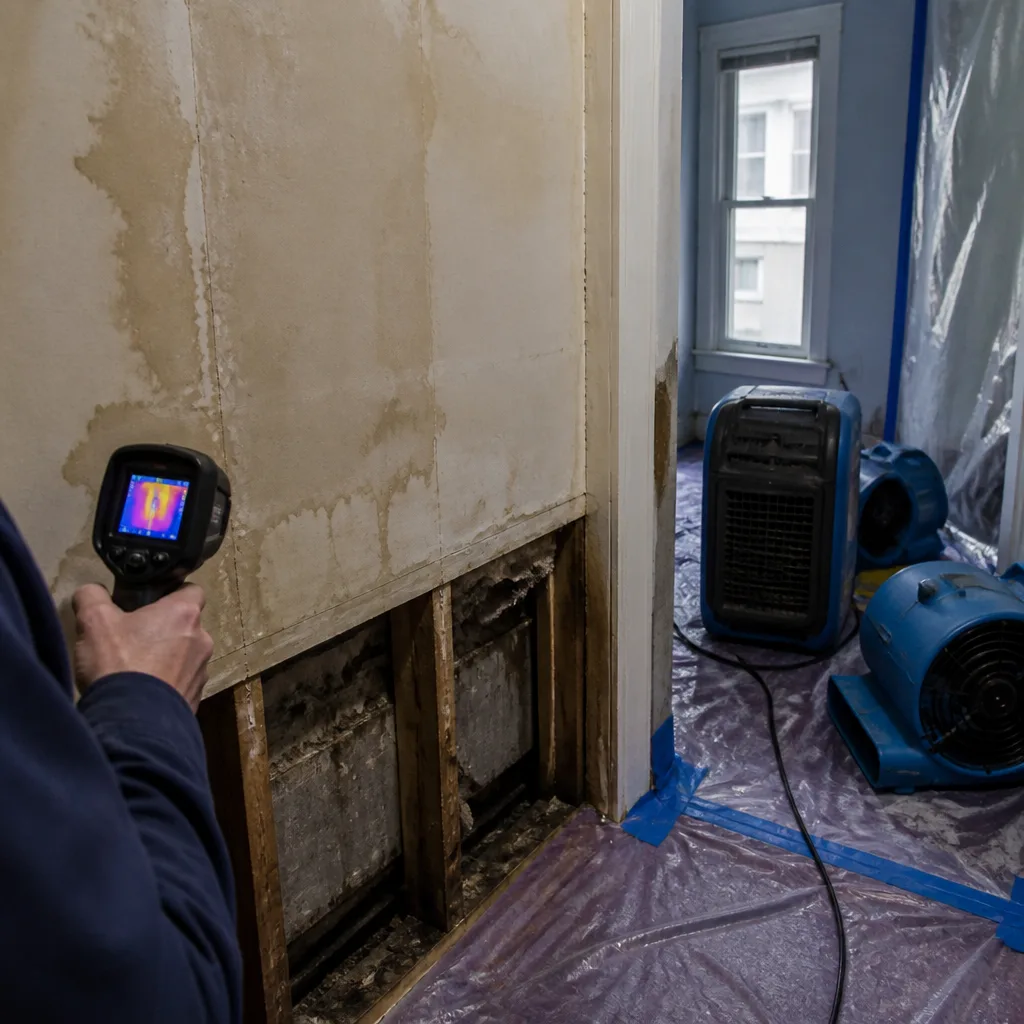 Before
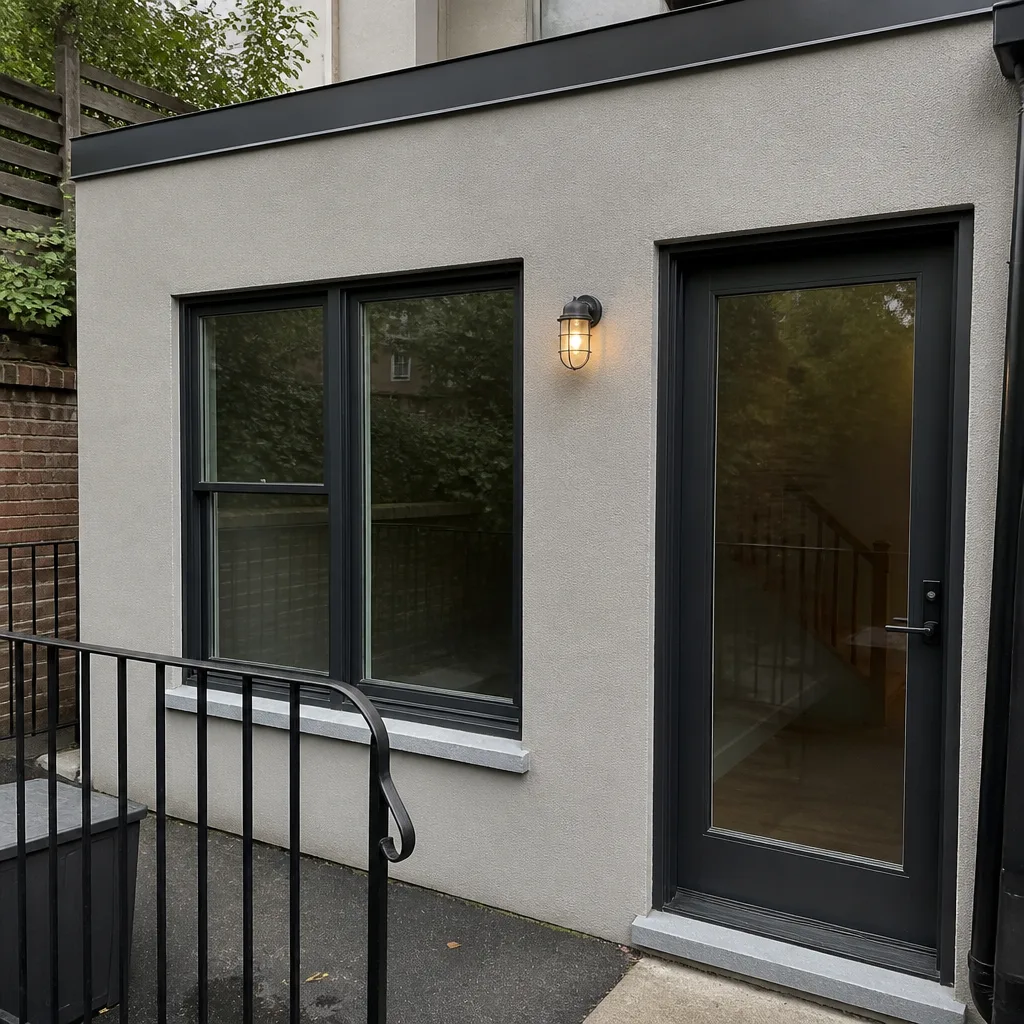 After
After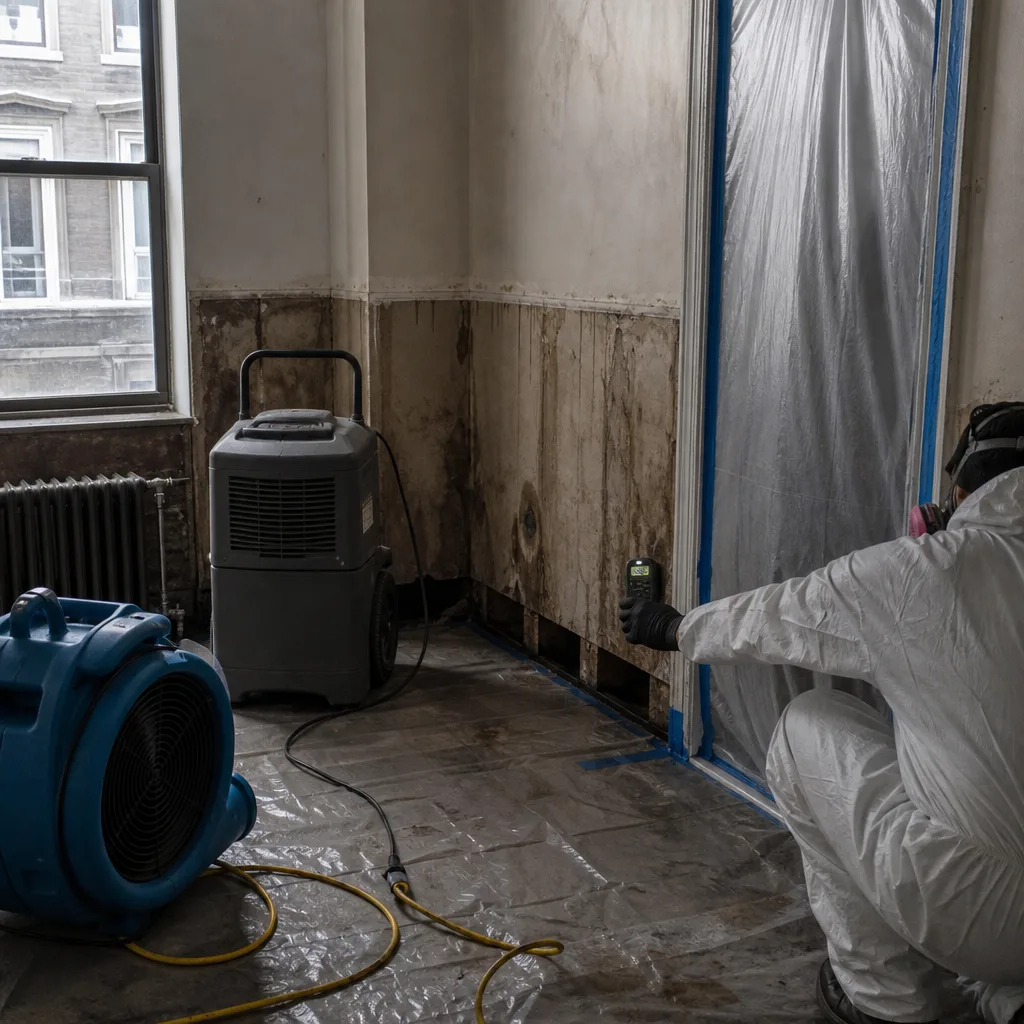 Before
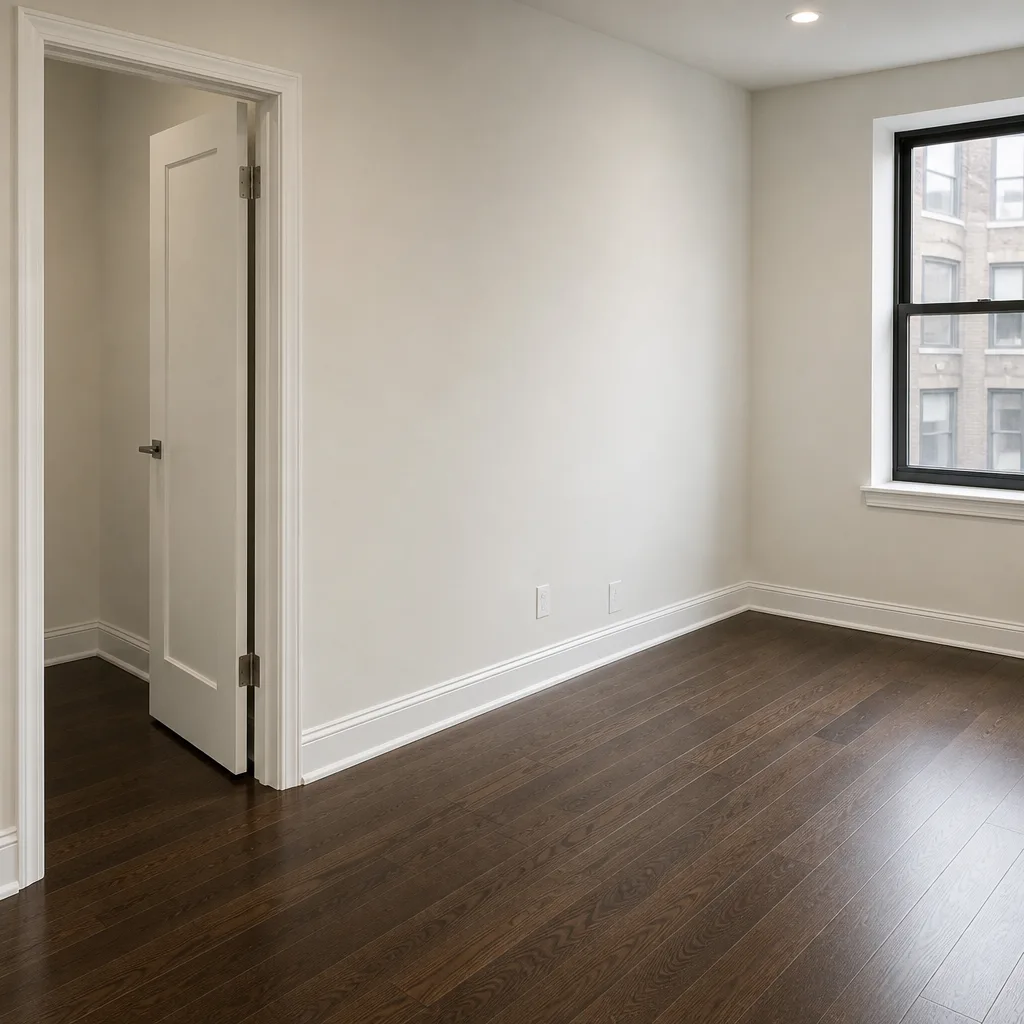 After
After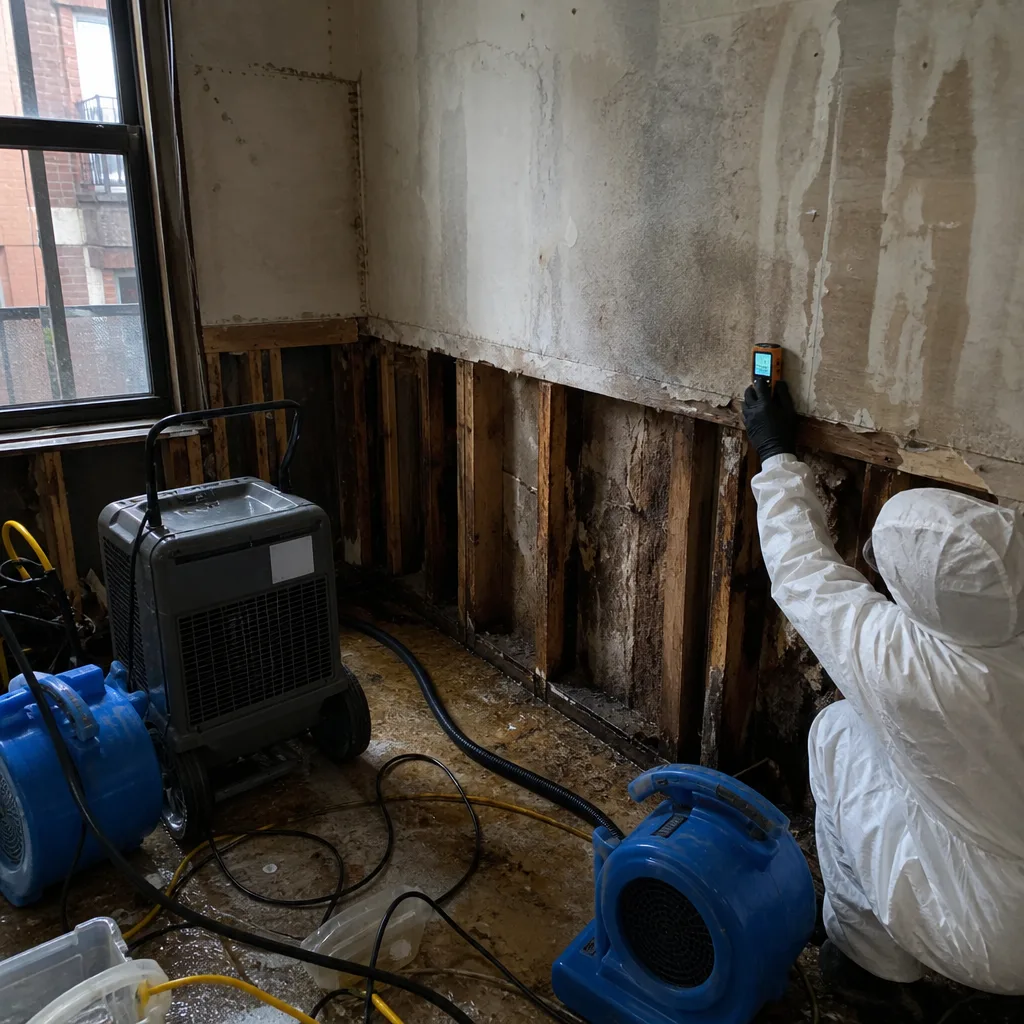 Before
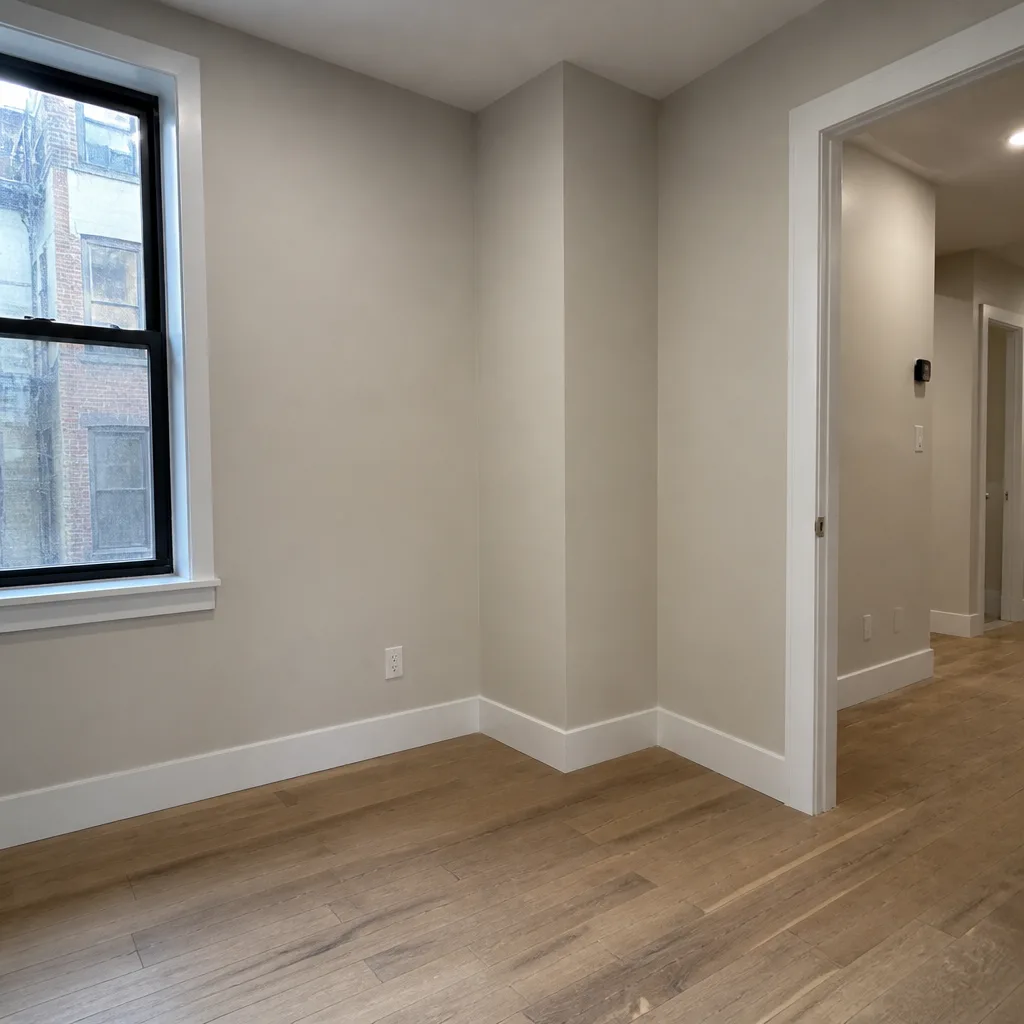 After
AfterSeasonal Damage Restoration Care for Lower Manhattan: Year-Round Homeowner’s Guide
February is when Wade gets the most calls about damage that actually started in November. A wet basement in winter rarely traces back to a single dramatic event. More often, it’s the cracked pointing on the south-facing wall that let water in during late fall, sat quietly through December, and finally overwhelmed the interior when a January nor’easter drove rain sideways for eighteen straight hours. Lower Manhattan’s damage calendar doesn’t follow the national seasonal script, and homeowners who plan around generic advice end up chasing problems a full season after they started. This guide maps the actual year here: the Hudson River tidal surges, the Financial District wind tunnels, the freeze-thaw cycle that attacks century-old masonry, and the construction vibration from the block that never stops building. By October, you’ll know what to look for. By February, you’ll know why you should have looked in October.
Quick Answer
The biggest seasonal damage threats in Lower Manhattan rotate around four patterns: nor’easter-driven water intrusion from November through March, freeze-thaw masonry damage that announces itself in late winter and early spring, summer HVAC condensate loads that spike in July and August, and the post-summer shutdown window in September when dormant systems fail quietly. The single most effective prevention habit is a seasonal interior and exterior inspection timed to these cycles, not to the generic spring-cleaning schedule most homeowners follow - see our Water Damage Restoration Maintenance Checklist for Lower Manhattan Homeowners for what to check and when. In Lower Manhattan, the inspection that matters most happens in October, before the first nor’easter, not in April after the damage has already compounded.
Table of Contents
- The Real Calendar: Why Lower Manhattan’s Damage Season Runs Backward
- Nor’easter Preparation vs. Hurricane Preparation: Not the Same Storm
- The Freeze-Thaw Cycle: How Manhattan Masonry Holds a Grudge
- The September Shutdown: Why Post-Summer HVAC Failures Catch Everyone Off Guard
- Construction Vibration and Water Infiltration: The Adjacent Lot Problem
- The Spring Inspection Sequence: Catching Winter Damage Before It Compounds
- Summer Condensate Loads: The High-Rise Humidity Problem
- Month-by-Month Checklist for Lower Manhattan Homeowners
The Real Calendar: Why Lower Manhattan’s Damage Season Runs Backward
National home care guides run on a predictable rhythm: spring brings rain, summer brings humidity, fall brings wind, winter brings frozen pipes. That framework breaks down fast in Lower Manhattan, where the geography and the built environment create a different set of rules. The borough sits on an island between two tidal rivers, with a dense high-rise core that turns ordinary wind into concentrated gusts. Older masonry buildings, some dating back to the 1800s, dominate entire blocks below Chambers Street. New construction presses up against them. The result is a micro-climate where water moves in ways that surprise even long-time residents.
We’ve worked homes in Battery Park City where a nor’easter in January pushed water up through a floor drain that had never once backed up during a summer storm. We’ve handled Tribeca lofts where the first sign of a façade leak was a stain on the ceiling in April, even though the water entered the wall in December and traveled slowly through the cavity for three months before showing itself. The lesson we repeat to homeowners across Lower Manhattan is that the problem you’re looking at is rarely the problem that started it. Water works on delay here, because masonry holds moisture and releases it slowly, because drainage systems buried under the sidewalk can’t dry out in shaded canyons, and because the freeze-thaw cycle stores damage in the wall until spring warmth triggers the visible exterior cracks.
Homeowners should think about seasonal care as running from October through September, not January through December. The inspection calendar that actually works in Lower Manhattan starts in early fall, before nor’easter season, and ends with a post-summer systems check in September. Everything in between is a response to the specific conditions this island creates. Wade’s Restoration has been working this calendar since 2007, and the homes that follow it avoid the worst of what these seasons bring. The homes that don’t are the ones that call us in February with a problem that started in November. For a deeper look at water-specific risks, our Water Damage Restoration in Lower Manhattan guide covers the most common entry points we see in this market, from parapet leaks to sidewalk-level drain backups.
Nor’easter Preparation vs. Hurricane Preparation: Not the Same Storm
Lower Manhattan gets more nor’easters than hurricanes, by a wide margin, yet most of the prep advice floating around is written for hurricane season. Conflating the two leaves homeowners underprepared for the storm that actually hits. A nor’easter is a winter storm that rides up the Atlantic coast with northeast winds, often stalling offshore and delivering 24 to 48 hours of sustained rain, wind, and sometimes snow. Unlike a hurricane, which arrives fast and leaves fast, a nor’easter parks itself over the coastline and keeps driving water into building façades for a full day or more. That duration matters more than peak intensity. A wall that can shed a two-hour downpour will saturate under eighteen hours of wind-driven rain.
The wind direction is the other key difference. Hurricane winds in the Northeast often come from the southeast. Nor’easters drive from the northeast. In Lower Manhattan, that means north-facing and east-facing walls take the brunt, especially on buildings near the river. The wind-tunnel effect through the Financial District’s narrow streets amplifies this. A 40-mile-per-hour nor’easter wind compressing between two 30-story buildings can hit a residential entrance at 55 or 60 miles per hour, and with it comes rain traveling almost horizontally. Caulk that looks fine during a summer shower gets tested in a completely different way when water is being pushed sideways under a door jamb or through a window weep hole.
How to Prep for Nor’easter Season (October-November)
- Check window and door seals on north and east exposures. Run a hand along the frame for signs of dried or cracked caulk. Replace anything that’s pulling away, and pay special attention to the bottom corners of windows where wind-driven rain pools before draining.
- Clear roof drains, scuppers, and balcony drains. A clogged roof drain during a two-day nor’easter sends water over the parapet and down interior walls. In Lower Manhattan’s older buildings, interior downspouts run through the walls themselves, and a backup inside the wall cavity is a slow-motion disaster.
- Secure or store anything that can become airborne. On terraces, balconies, and roof decks, loose furniture can break windows or damage façades when winds hit 50 mph. Even a small planter becomes a projectile in the wind-tunnel streets.
- Test your sump pump if you have one. Basement and sub-grade spaces in Lower Manhattan sit close to the water table, and a nor’easter surge raises it quickly. Pour water into the pit and confirm the pump starts and discharges properly.
- Photograph your property interior and exterior. If you ever need to file a claim, having a dated photo record from before the storm changes the conversation with an adjuster. We tell every homeowner in Lower Manhattan the same thing: the best claim documentation is the photo you took when nothing was wrong.
One thing to understand clearly: nor’easter insurance questions come up constantly, and having to relay adjuster information through voicemail tags and callbacks costs time when water is actively moving through a wall. Wade deals with insurance adjusters directly on every job, which means the homeowner never has to sit in the middle translating technical language. That’s standard practice for us, not an add-on.
The Freeze-Thaw Cycle: How Manhattan Masonry Holds a Grudge
Lower Manhattan’s building stock is old, and old masonry has a long memory. Water enters the outer layer of brick, limestone, or brownstone through hairline cracks, failed pointing, damaged parapet caps, or deteriorated window lintels. When temperatures drop below freezing, that water expands by about nine percent. The expansion pushes against the masonry from inside, widening the crack by a fraction of a millimeter. When temperatures rise, the ice melts, the water seeps deeper, and the next freeze pushes the crack open a little more. Over the course of a single winter with 30 to 40 freeze-thaw cycles, that hairline fissure becomes a visible crack, and the water now has a direct path into the wall cavity.
The problem in Lower Manhattan is that this cycle operates in public view on every street, but the damage is invisible until it isn’t. A building that looked intact in October can show spalled brick, displaced lintel stones, and vertical cracks by March. Worse, the water that entered through the exterior now sits inside the wall, soaking insulation, saturating plaster, and feeding mold that will bloom when the interior heats up in spring. This is why February is our busiest month for mold calls that homeowners assume started recently. The moisture was delivered in December and January. The mold is just the receipt.
The Freeze-Thaw Inspection: What to Look For
- Vertical cracks that widen toward the top of a wall - often near corners or below parapets, where water entry is concentrated.
- Staining below window sills and lintels - rust-colored streaks on masonry indicate water is working through the steel or iron behind the façade.
- Bowing or bulging brick sections - a sign that repeated freeze-thaw cycles have expanded the outer brick against the structural wall enough to push it out of plane.
- Efflorescence - white, chalky deposits on interior or exterior surfaces indicate water has moved through the masonry and evaporated, leaving mineral salts behind.
- Loose pointing joints that crumble when scraped lightly - if you can remove mortar with your fingernail, the joint has failed and is actively admitting water.
Repointing and masonry repair in Lower Manhattan is a specialized trade, and it’s not a springtime project in the sense that you should wait to do it. If a crack is active in January, the water is entering in January. Waiting for mid-April to fix it guarantees another three months of moisture loading in the wall. We’ve seen too many homeowners in neighborhoods like the Seaport and lower FDR Drive-area high-rises defer masonry work because the crack wasn’t “bad enough” in December, then call us in March for interior water damage that could have been prevented. For more on how interior water issues develop from envelope problems, see our Mold Remediation in Lower Manhattan page, where we walk through the moisture sources we most commonly trace during remediation jobs.
The September Shutdown: Why Post-Summer HVAC Failures Catch Everyone Off Guard
Every September, when the brutal New York humidity finally breaks and buildings switch from cooling to heating, a wave of hidden damage reveals itself. The HVAC systems that ran continuously all summer have been producing condensate - gallons of it - and moving that water through drain pans, condensate lines, and p-traps. If any of those components is partially blocked, the water overflows silently into ceilings, walls, or ductwork. During the summer, the system is running frequently enough that small overflows evaporate quickly. In September, when the cooling load drops, the system shuts down, and the water that’s been pooling in a blocked drain pan or a sagging section of drain line sits there. That’s when ceilings start to stain and plaster starts to crumble.
In high-rise and mixed-use buildings, the problem compounds because condensate from individual units runs into shared drain lines that descend through many floors. A blockage on the 15th floor affects every unit below it. In Lower Manhattan’s older pre-war buildings, these lines are often original cast iron, heavily corroded on the inside after decades of acidic condensate, and inaccessible without opening walls. A slow leak that would be a minor nuisance in a single-family home becomes a three-floor interior water event in a residential tower. And because the unit owners below the blockage don’t know the blockage exists, they don’t report anything until water is actively coming through their ceiling. The damage by then is substantial.
The September Shutdown Checklist
- Inspect the condensation drain pan and line for standing water. If there’s water in the pan when the system is off, the drain line is partially blocked. Clear it before the heating season starts.
- Check for rust or mineral buildup around the drain connection. This indicates the line has been overflowing intermittently for weeks, even if the interior showed no visible sign.
- Request a coil cleaning for your unit - dust-clogged coils produce more condensate and run less efficiently, which means more water moving through a system that may already be near capacity.
- Walk every room directly below an HVAC plenum or main trunk line. Look for the first blush of staining at the ceiling corners, and check for a musty odor that would indicate water has been sitting in the ductwork.
- Ask your building management or super when the last time the shared condensate riser was serviced. In a building of more than 10 residential units, the shared line is the single most likely source of a cascading water event.
When these September discoveries turn into full water events, the response window matters. A ceiling that has been quietly absorbing condensate for two weeks is often on the edge of collapse, and extraction equipment needs to be in place within hours, not days. Wade answers his own phone around the clock and can have extraction running inside the hour when the call comes from Lower Manhattan. When we arrive, we take moisture readings immediately and we keep taking them every day until the job is done. At the end, you get the full log. Almost nobody else in the trade does that, and it’s the difference between knowing the problem is dry and hoping it is.
Construction Vibration and Water Infiltration: The Adjacent Lot Problem
Lower Manhattan has been under continuous construction for two decades, and the development cycle isn’t slowing down. Pile driving, excavation, and heavy equipment operation create ground vibration that transmits through the soil into adjacent buildings. For a masonry building that has stood for 80 or 100 years, that vibration works like a very slow earthquake, loosening mortar joints, opening hairline cracks at connection points, and stressing old window frames and roof flashings. The building doesn’t move much - you won’t feel it - but the accumulated micro-movement over months of construction is enough to create new water entry paths where none existed before.
We’ve seen this pattern repeatedly in Lower Manhattan. A condominium building on a quiet block in the Financial District gets a new development next door. Pile driving runs for three months. Six months later, the building’s south wall is showing new cracks and a top-floor unit has water staining under a window that never leaked before. The homeowners call it a mystery leak. It isn’t. It’s construction vibration, and the insurance and liability questions that follow can be complicated. The developer’s insurance may cover it, or it may not. Proving causation often requires a before-and-after photo record, a written construction timeline, and sometimes a structural engineer’s assessment. None of that happens if the homeowner doesn’t first notice the change and document it.
What Homeowners Near Active Construction Should Do
- Photograph your building’s exterior before major construction starts. Get clear images of the façade, roofline, windows, and any existing cracks. Date the photos.
- When pile driving or excavation begins, conduct a weekly interior walk-through. Check ceilings at the top floor, corners of window openings, and intersection of walls and ceilings on the side facing the construction.
- Keep a simple log. Note unusual noises, noticeable vibrations inside the unit, and any new crack or water stain you spot, with the date. This is the evidence that supports a claim later.
- If you find water intrusion, call immediately - don’t wait to see if it “gets worse.” A small leak in a recently vibrated building often indicates a larger failure in the envelope, and the longer water sits, the more the repair costs.
- Involve the building’s board or management early. For co-ops and condos, the exterior envelope is usually a building-level issue, not an individual unit issue, and the board needs to know the building is being affected.
When these situations turn into interior water damage, the documentation burden falls on the homeowner. That’s why Wade’s Restoration provides photo-documented assessments on every job and coordinates directly with whichever insurance adjuster is involved, whether it’s the homeowner’s policy or the developer’s liability carrier. After 18 years in Lower Manhattan, Wade has dealt with every version of this scenario, and he knows what adjusters actually need to see.
The Spring Inspection Sequence: Catching Winter Damage Before It Compounds
Spring in Lower Manhattan is when the winter’s damage shows up for the first time outdoors, and when homeowners have the best opportunity to catch it before it becomes a larger structural repair. The sequence matters. If you check the interior first, you’ll see stains and peeling paint, but you won’t understand the source. If you check the exterior first, you’ll see the cracks and failed pointing that let the water in, but you won’t know how far the moisture traveled inside. The right order is exterior to interior, top to bottom, because water moves down and in. Start on the roof or the highest accessible point, work your way down the façade, then move inside and trace what you found.
The Spring Inspection Sequence
- Roof level: Check for lifted flashing around parapets, scuppers, and roof penetrations. Look for standing water in low spots - on flat roofs, ponding water after a rain indicates the roof surface is failing, and that water will eventually find its way through.
- Façade, top to bottom: Walk or use binoculars to examine brick and stone surfaces. Note vertical cracks that have widened since fall. Check window lintels for rust stains. Look for efflorescence. Compare what you see now to the photos you took in October if you have them.
- Window and door perimeters: Run your hand along caulk lines. If the caulk is pulling away or crumbling, the water has been entering with every rain event through the winter.
- Interior, top floor down: In each room, check ceilings for any staining or discoloration, especially at the corners under roof drains or in rooms directly below the building’s roof edge. Check around every window on the interior side for bubbling paint or soft drywall.
- Basement or sub-grade level: Look for water marks on foundation walls, especially along the wall that faces the street or the river. In Lower Manhattan, rising groundwater during spring rain events and high river levels pushes water through foundation cracks and floor slab joints that stay dry during the rest of the year.
- Test for hidden moisture. If any area looks suspicious, a professional moisture meter reading tells you whether the wall or ceiling is dry or actively holding water. This is not something a visual inspection can confirm.
We use professional-grade moisture meters from Dri-Eaz and Phoenix, and we take readings every day on active jobs until we can show the homeowner - with numbers, not guesses - that the space is dry. The spring inspection is when a homeowner should be asking for exactly that: evidence, not assurance. For a comprehensive breakdown of the moisture concerns specific to transitional seasons, the Wade’s Restoration home page links to the full range of services we provide across Lower Manhattan, including seasonal inspection support.
Summer Condensate Loads: The High-Rise Humidity Problem
New York City summers bring humidity levels that sit in the 70 to 90 percent range for weeks at a time, and Lower Manhattan’s position between two rivers keeps the air close to saturation. Every air conditioning system in every high-rise and mixed-use building runs at full load from June through August, and every one of those systems produces condensate: the water that forms when warm, humid air meets cold evaporator coils. In a single residential unit, a properly functioning system can produce 5 to 20 gallons of condensate per day. In a 200-unit building, that’s thousands of gallons moving through shared drain lines every single day of the summer.
The seasonal problem here isn’t just the volume. It’s that the system runs so continuously that small failures get masked. A drain line that’s 60 percent blocked still passes enough water to avoid obvious overflow when the system runs full-time, because the water moves quickly enough that it doesn’t pool. But the same line, when the system cycles on and off during a mild stretch in August, allows water to pool in the sagging section and overflow slowly into the ceiling cavity. By the time a homeowner notices the stain, the insulation above the ceiling is saturated, the drywall is compromised, and mold has started to grow in the dark, cool cavity.
Summer Condensate Prevention
- Change HVAC filters monthly during summer months. A dirty filter reduces airflow across the coil, causing the coil to ice up, which then melts and dumps water in irregular surges that overwhelm drain pans.
- Check condensate drain lines visually every two weeks. Look for standing water in the drip tray, mineral deposits around the drain connection, or a musty odor near the unit. Any of these means the line is backing up.
- Keep an eye on ceiling areas directly below the HVAC closet or chase. Even a faint discoloration in the summer is an early warning. It only gets worse.
- If your building has a cooling tower or central chiller, ask when the shared condensate risers were last cleaned. In Lower Manhattan buildings with 100+ units, shared riser blockages are among the most common causes of multi-floor water damage we respond to between June and September.
When summer HVAC failures do happen, our Fire & Smoke Damage Restoration in Lower Manhattan work often intersects with water systems, because the same mechanical rooms and riser chases that carry condensate also carry building electrical and fire suppression lines. A water event in a mechanical chase is rarely only a water event. The systems are all in the same walls.
Month-by-Month Checklist for Lower Manhattan Homeowners
This is the working calendar we recommend to homeowners across Lower Manhattan. It’s built for the real conditions here, not for a generic Northeast climate zone. For Damage Restoration Cost Breakdown: The Lower Manhattan Homeowner’s Reference for 2026, see our pricing guide.
January
- Monitor for interior staining after December nor’easters. Water that entered during a storm takes days or weeks to show as a ceiling stain.
- Check basement and sub-grade spaces for water marks after any day with heavy rain plus high river tide.
- Inspect north and east walls for frost or ice accumulation on interior surfaces, which indicates missing insulation or a water entry path.
February
- Conduct the freeze-thaw inspection described above. Look for vertical cracks, displaced brick, and spalling.
- Check all interior window frames for condensation that doesn’t clear, which can indicate water pooling in the wall cavity behind the frame.
- If you see any musty odor in closets or behind furniture against exterior walls, call for a moisture reading. Do not wait for visible mold.
March
- Do a full interior walk-through looking for plaster cracks that have opened since the fall. Cracks that grow during the winter indicate structural movement, not just seasonal expansion.
- Check attic or top-floor ceiling spaces for water stains under roof penetrations.
- Inspect your boiler or furnace room for any signs of water on the floor, which can indicate a leaking pipe or failed pressure relief valve that goes unnoticed while the heat runs constantly.
April
- Run the spring inspection sequence in full, exterior to interior, top to bottom.
- Schedule masonry repointing or roof flashing repair for any issue found during inspection. Don’t defer to fall - a full summer of rain and humidity will drive water into every open joint.
- Clean out all window well and balcony drains to prepare for spring rain events.
May
- Check sump pumps and any sub-grade drainage systems before the late-spring rainy season.
- Inspect for signs of pest intrusion around exterior entry points. Pests in Lower Manhattan often enter through the same gaps that admit water, so sealing one seals both.
- If you’re in a building with a shared roof deck, ask management to inspect drainage paths before the summer storm season begins.
June
- Confirm all air conditioning systems are serviced and draining properly before the full summer humidity load hits.
- Check window and door weatherstripping. Summer storms in Lower Manhattan arrive fast and drive rain horizontally, and a failed seal lets water directly into the wall.
- If you have window units, confirm the units are properly angled so condensate drains outward, not inward through the unit sleeve.
July
- Monitor for condensation on cold water pipes in unconditioned spaces like basements and mechanical rooms.
- Inspect ceilings below HVAC chases weekly during heat waves, when the system is running at 100 percent duty cycle and is most likely to overflow a partially blocked drain line.
- If you smell mustiness anywhere in the home, don’t cover it with air freshener. Call for a moisture investigation. In July humidity, the mold that’s growing is actively reproducing.
August
- During the annual late-August humidity peak, check every drain pan and condensate line that serves the unit, even if nothing has looked wrong all summer.
- Walk the perimeter of the building at street level after heavy summer storms and look for water sheeting off the façade or pooling near the foundation.
- If you see pooling near the foundation after a storm, check the interior basement wall directly behind it for moisture within 48 hours.
September
- Run the September shutdown checklist above. Inspect condensate pans, drain lines, and system shutdowns before the building switches to heat.
- Clean out any drain lines that show standing water or mineral buildup.
- Walk every room for ceiling stains that may have appeared during the final weeks of cooling season.
October
- This is the most important month in the Lower Manhattan seasonal calendar. Complete the nor’easter preparation checklist in full: seals, drains, sump pumps, and photo documentation.
- Inspect the exterior envelope one more time before winter. Repair any crack, joint, or flashing issue now, because the freeze-thaw cycle will exploit it all winter.
- Photograph your property interior and exterior for your own pre-season record. This is the single action that most strengthens a future insurance claim.
November
- After the first hard rain of the month, check the interior of every exterior wall for stains or dampness.
- Confirm all roof drains are clear after leaf fall. A clogged roof drain in November is the starting point for thousands of dollars of interior water damage by February.
- If you’re on the ground floor or below grade, verify that the exterior drainage around the building is flowing freely and not directing water toward the foundation.
December
- After each nor’easter passes, do a targeted check of north and east exposures, ceiling corners, and basement areas.
- If any water is visible, call within 24 hours. Water that sits in a wall cavity over the holidays doesn’t dry out - it freezes, thaws, and migrates deeper.
- Test your sump pump once more before the deep freeze, and make sure the discharge line isn’t exposed to freezing temperatures that could cause an ice blockage.
Common Mistakes to Avoid
- Waiting until spring to inspect for winter damage. In Lower Manhattan, the damage is happening in December and January. Waiting until April to look at the exterior means giving water an extra three months inside the wall. The mold that formed during that window is now established, not incipient.
- Assuming a small ceiling stain is a small problem. A two-inch stain on a ceiling in a Lower Manhattan high-rise often traces back to a shared riser blockage or a roof drain failure many floors above. Small stains are the visible tip of a much larger hidden water event.
- Cleaning up water damage without extracting the moisture from building materials. Drying the surface of a wall or floor doesn’t address the moisture inside the cavity. We’ve walked into homes where a homeowner had fans running for two weeks, and the moisture reading still showed 30 percent moisture content in the drywall. The wall was still wet behind the paint.
- Ignoring construction activity on adjacent lots. Lower Manhattan’s building boom isn’t background noise. It’s a direct physical stress on every adjacent structure. If a new development starts next door, start the documentation process immediately.
- Treating a nor’easter like a summer storm. The wind-driven rain of a nor’easter penetrates through openings that shed summer rain easily. The prep is different, the damage is different, and the insurance question is different too.
- Deferring exterior masonry repair to “next season.” Every season that passes with an open crack in the façade loads more water into the wall. The repair bill grows, and the eventual interior damage grows with it. In Lower Manhattan’s freeze-thaw cycle, waiting is expensive by design.
- Filing an insurance claim before documenting the damage. An adjuster’s best evidence is a clear photo record with dates. Homeowners who call the insurance company before taking photos often find themselves arguing about what the condition was before the event. Document first, then call.
When to Call a Professional
Some seasonal issues are maintenance items you can handle with a checklist and a weekend - find more guides & resources on our blog. Some are not. If you see water actively entering the home, call within the hour - water moves fast through building cavities, and every hour it sits means more drywall is compromised and more mold spores are germinating. If you smell mustiness and can’t locate the source, call for a professional moisture reading before you open walls. If a ceiling stain grows, darkens, or starts to sag, the ceiling may be near failure and the water above it is still active. If you suspect mold in a wall cavity, do not open the wall yourself - disturbing mold colonies without proper containment spreads spores throughout the home. If you’ve had a water event and the insurance adjuster is involved, a restoration company that documents everything and communicates with adjusters directly changes the entire claim experience. Wade’s Restoration offers free estimates in Lower Manhattan - call (607) 350-1550 and Wade will answer the phone himself, any hour, any day. No trip charge inside the county. No runaround.
Frequently Asked Questions
In Lower Manhattan, winter basement water is usually the delayed result of water that entered the building envelope weeks earlier during a fall nor’easter or a November rain event. The water travels slowly through masonry, insulation, and wall cavities, and can take weeks to reach a basement wall or floor slab. It can also be the result of a rising water table or a failed subsurface drain that only backs up when the river level is elevated. The fix starts with tracing the water back to its entry point, not just drying out the basement floor.
No, and treating them as the same storm type is one of the most common mistakes we see in Lower Manhattan. Nor’easters last much longer than hurricanes, drive wind from the northeast instead of the southeast, and often cause more interior water damage through sustained wind-driven rain than through storm surge. Preparation for a nor’easter means sealing north and east exposures, clearing roof and balcony drains, and securing outdoor items long before the storm arrives. Hurricane prep covers a different set of risks, and the two checklists don’t replace each other.
Fresh water stains are usually dark, damp to the touch, and may have a defined edge that spreads over time. Old water stains are dry, often lighter in color, and may have a tide line marking the high-water point from a past event. The only reliable way to know if water is still present is a professional moisture meter reading. Wade’s Restoration takes daily moisture readings on every active job and hands the homeowner the full log at the end, so there’s never a question about whether the space is actually dry.
Many homeowners’ policies cover sudden and accidental water damage, but exclude damage from long-term seepage, lack of maintenance, or gradual deterioration. The difference between a covered claim and a denial often comes down to documentation: when the damage started, what caused it, and whether the homeowner addressed the issue promptly. Wade deals directly with insurance adjusters on every job, so the homeowner never has to negotiate technical language alone. If you’re facing a seasonal water issue in Lower Manhattan, call (607) 350-1550 for a free assessment before you talk to your carrier.
What’s the most overlooked seasonal damage risk in Lower Manhattan high-rises?
The September HVAC shutdown is the most consistently overlooked risk we see in Lower Manhattan high-rises and mixed-use buildings. All summer, thousands of gallons of condensate move through shared drain lines. When the cooling load drops in September and systems cycle down, the water that’s been pooling in partially blocked lines stops getting pushed through, and it overflows into ceilings, walls, and ductwork. The stains