
Last updated August 26, 2026
Free visual inspection and a written scope of work before any mitigation begins - photos, moisture readings, and drying logs go in your claim file
The scope we write is the scope we bill. Anything new gets shown to you, in writing, before we touch it.
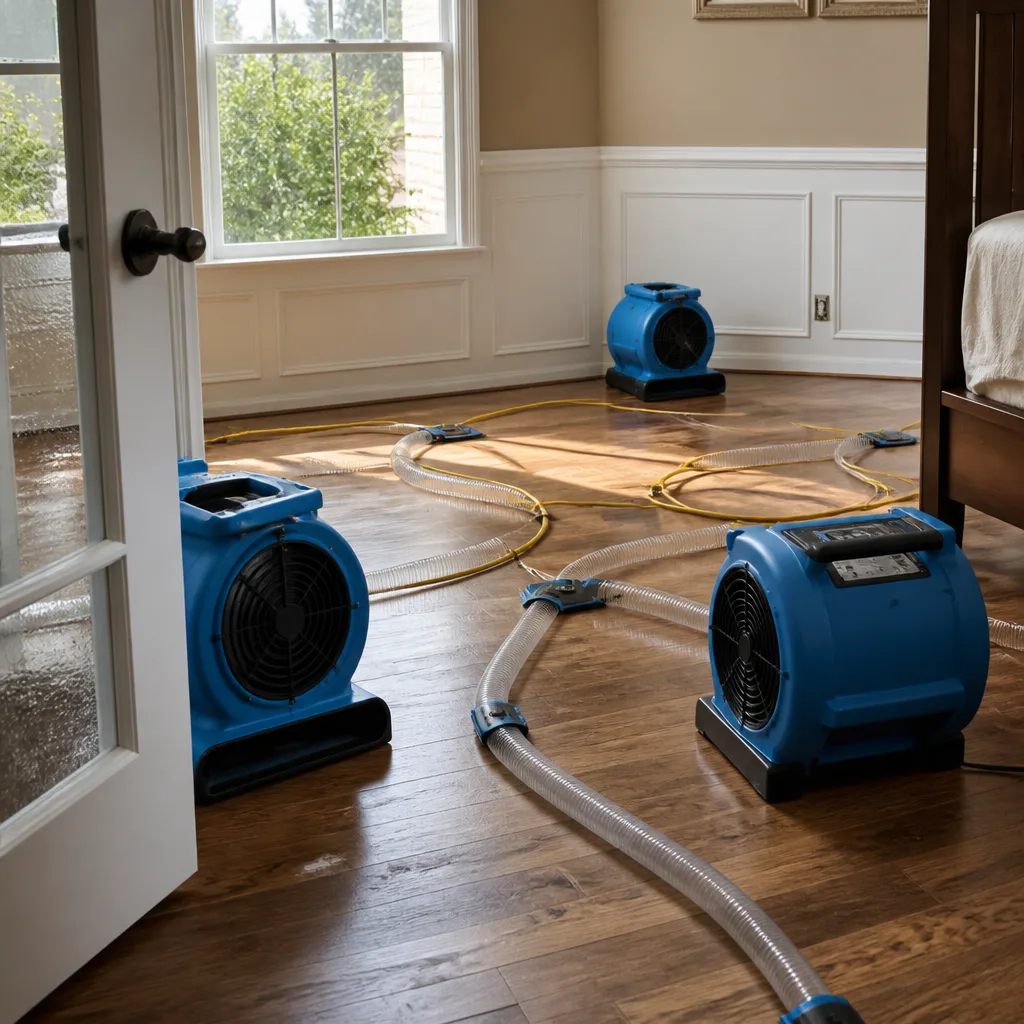

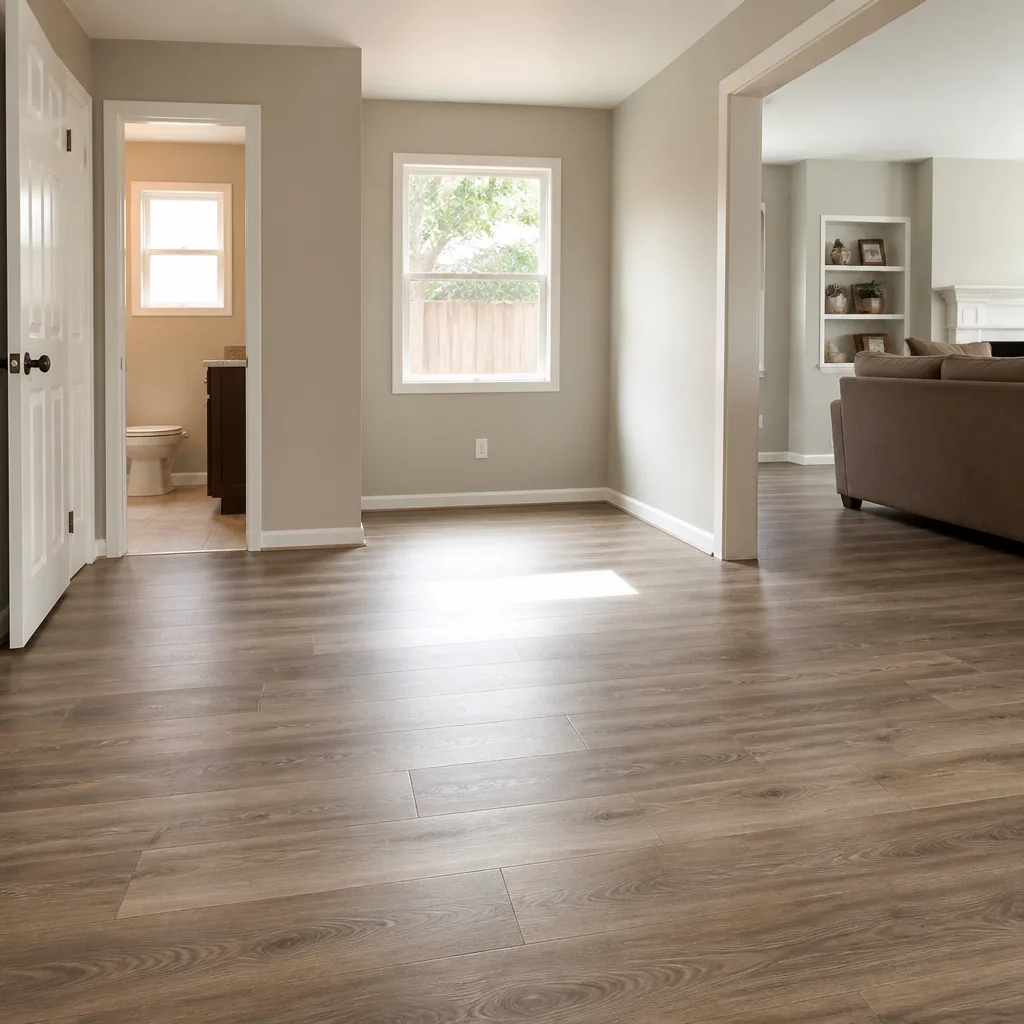

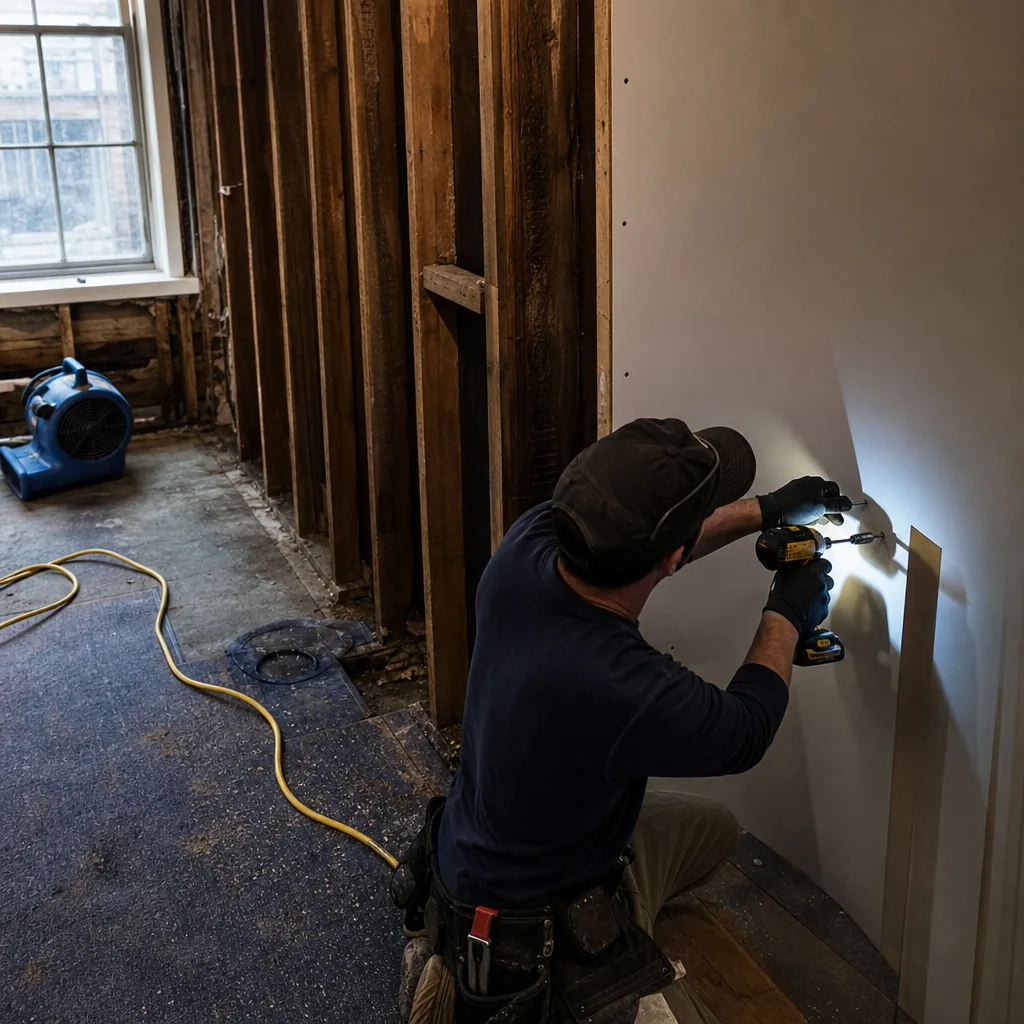
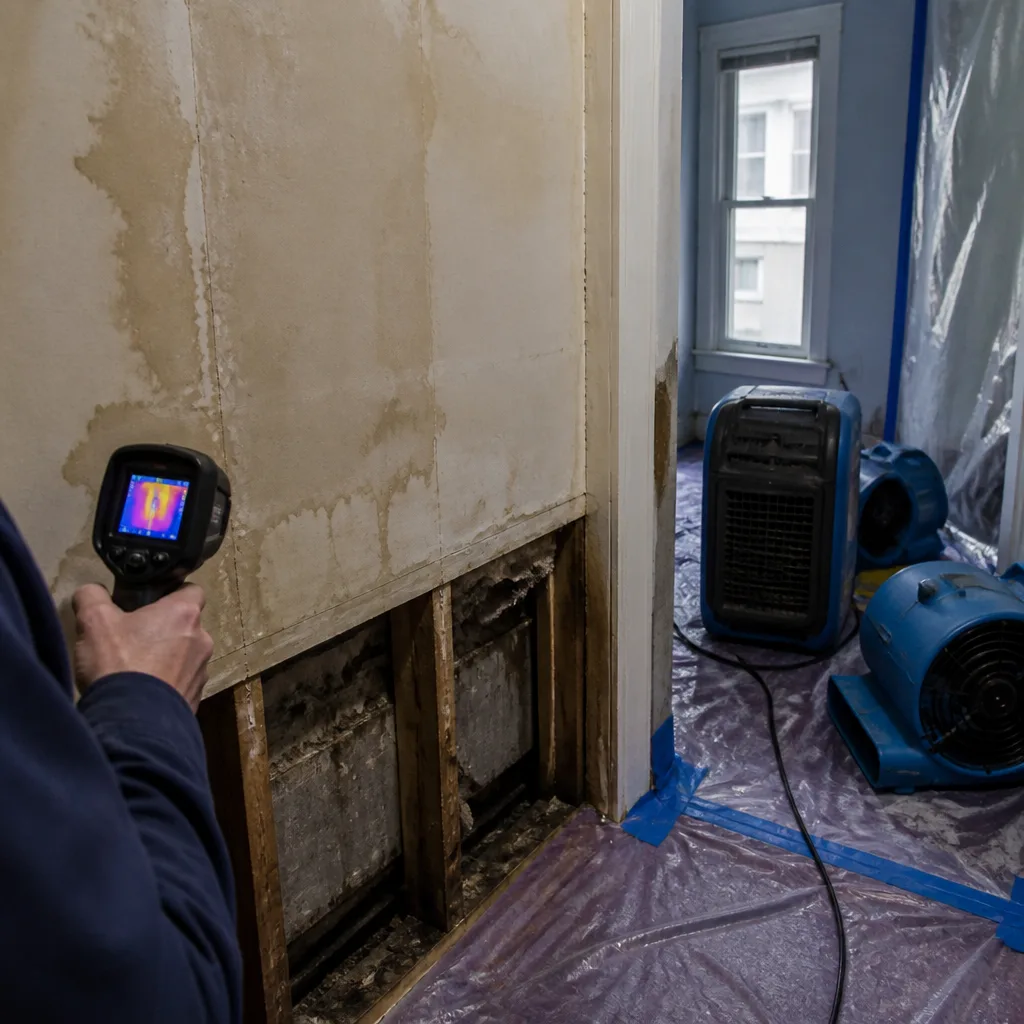 Before
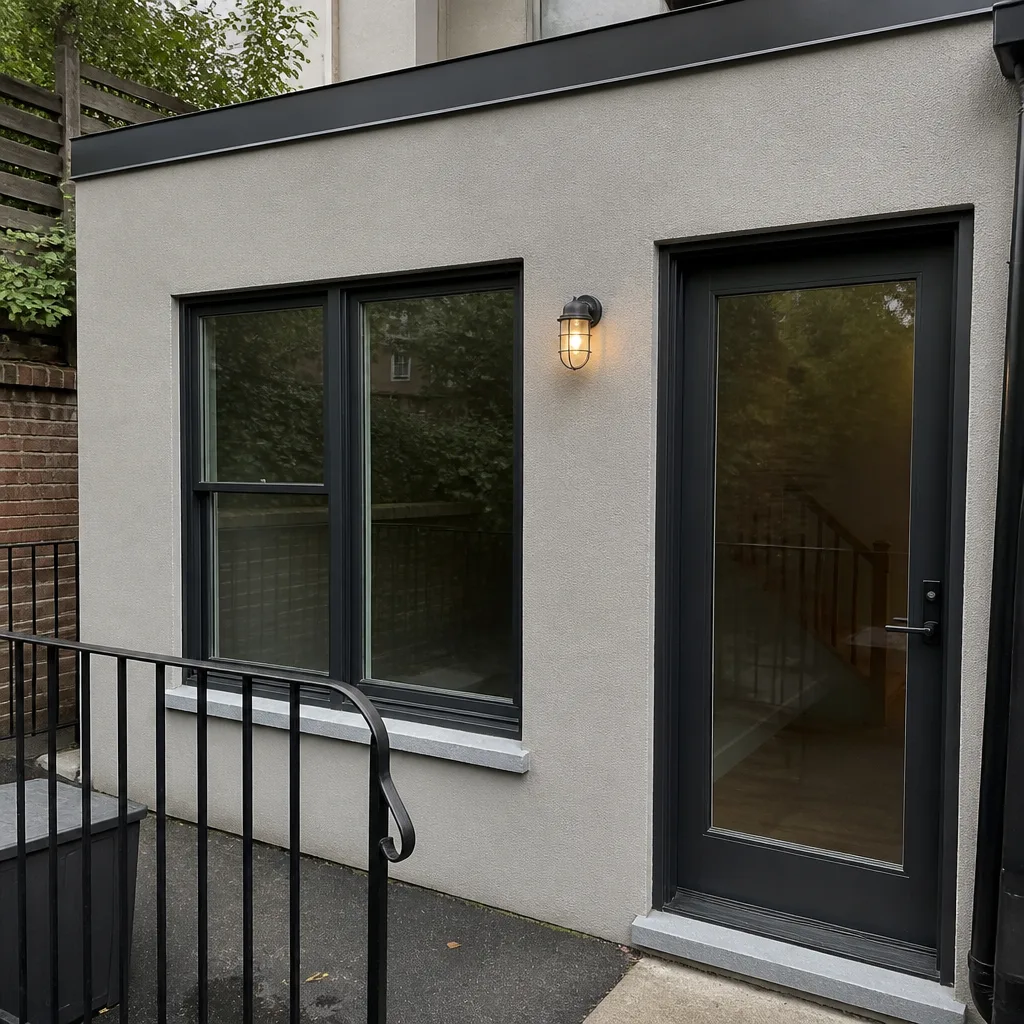 After
After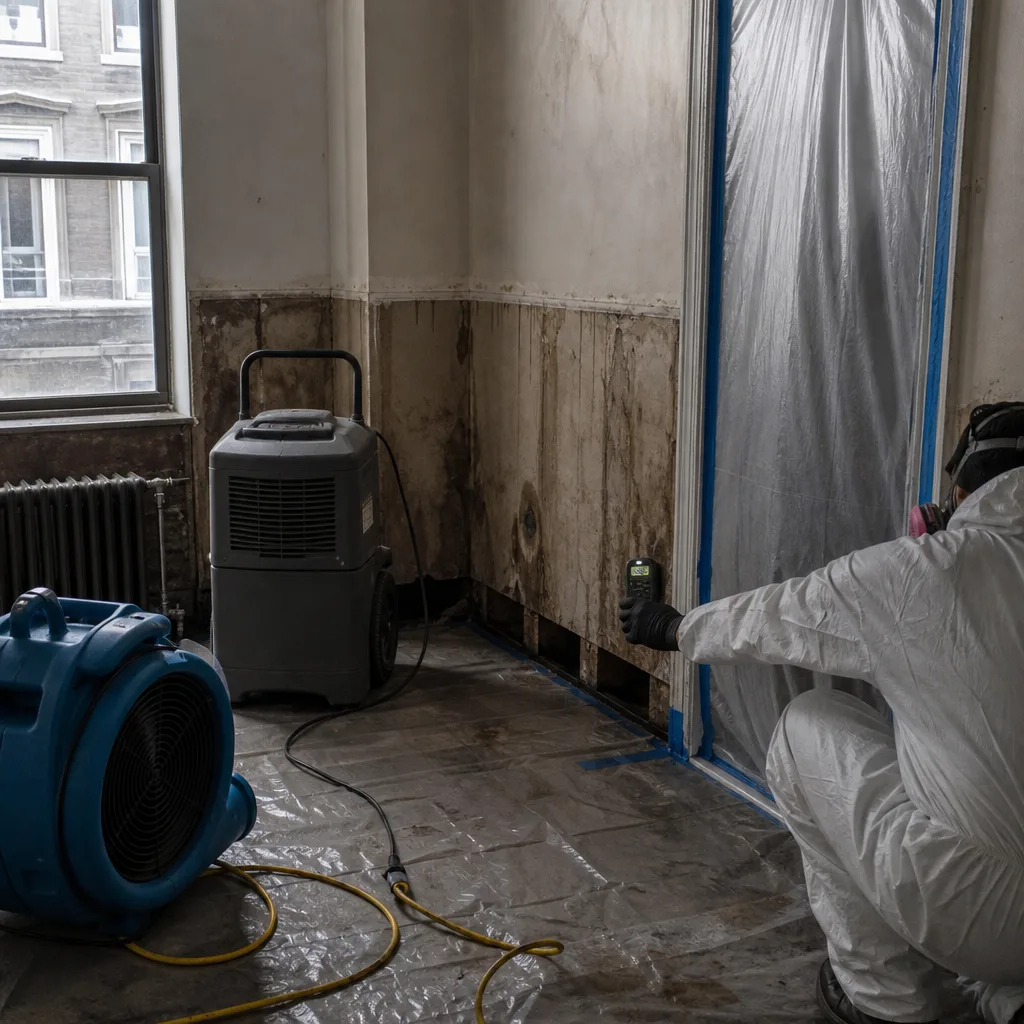 Before
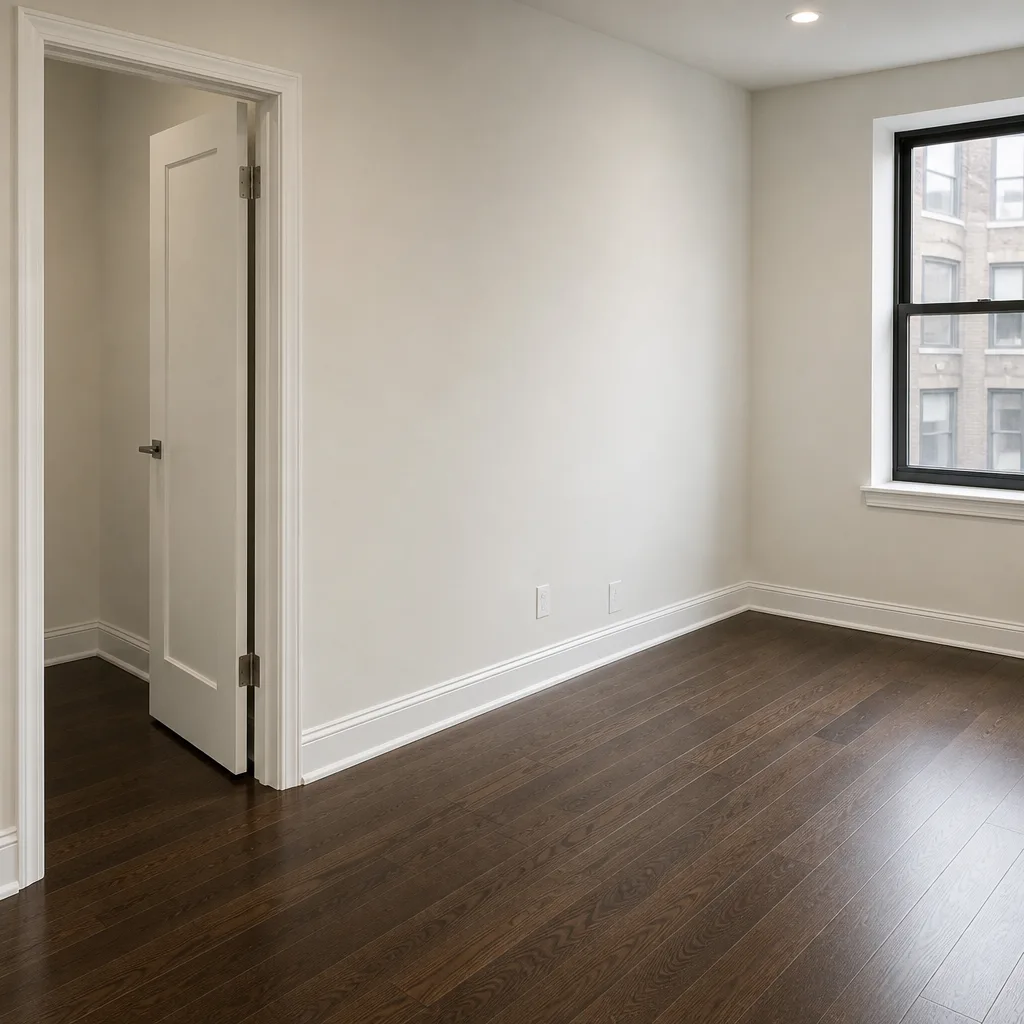 After
After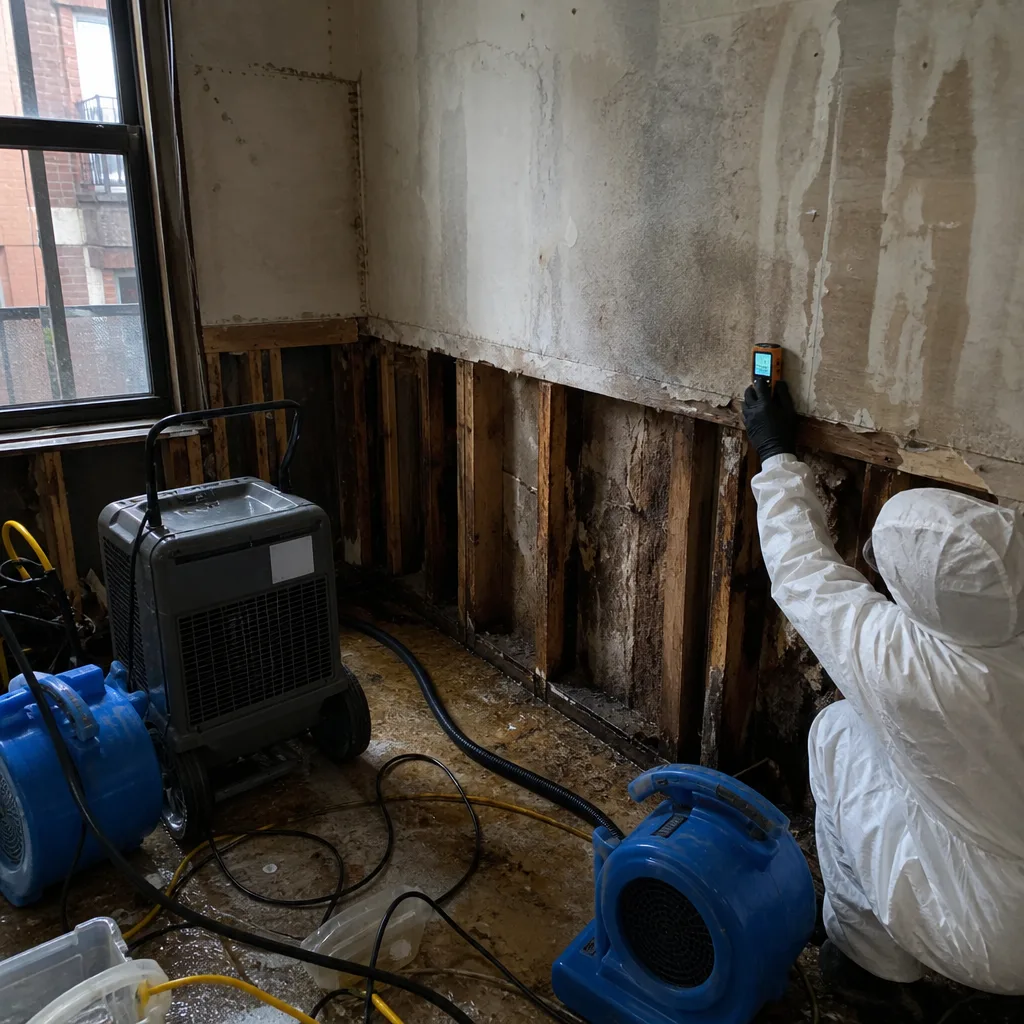 Before
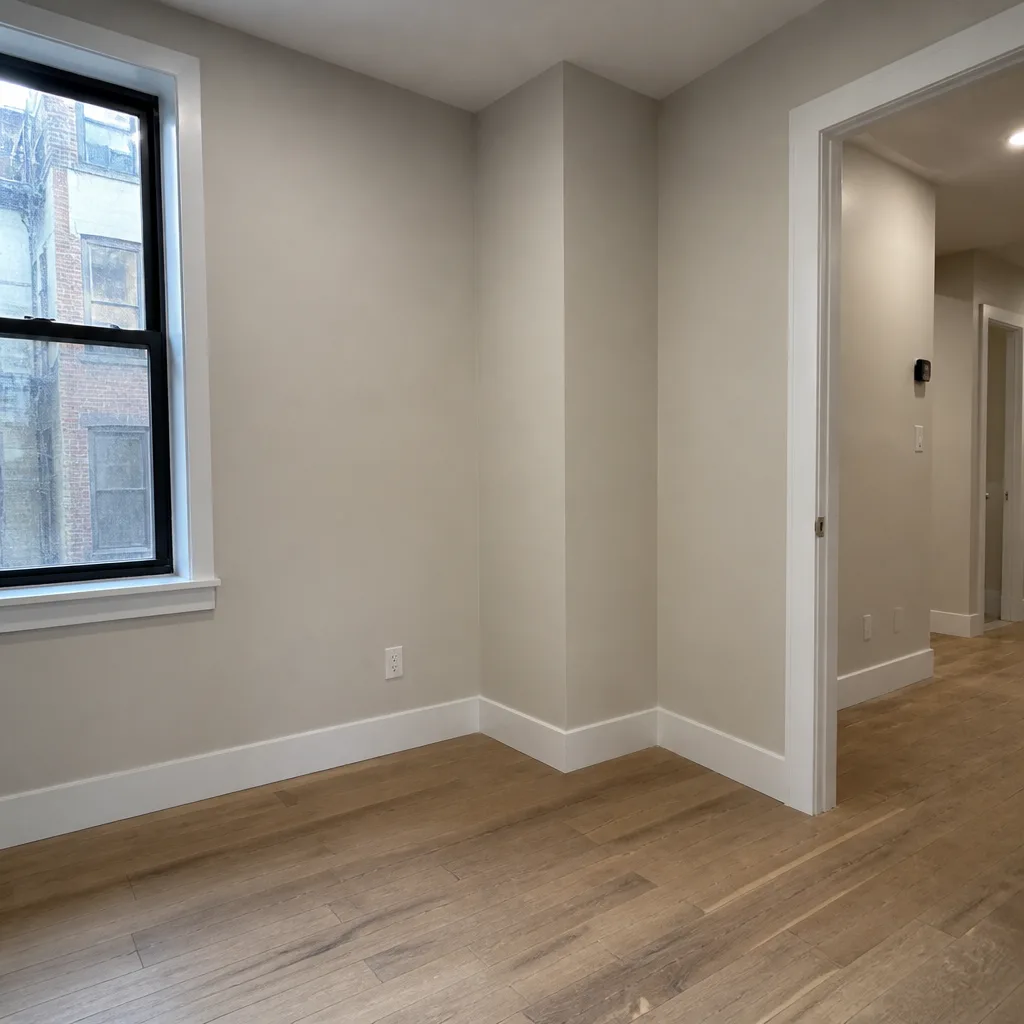 After
AfterWater Damage Restoration Maintenance Checklist for Lower Manhattan Homeowners
Most water damage checklists read like they were written by someone who has never stood inside a Lower Manhattan co-op. They tell you to clean your gutters and check your downspouts. But your pre-war loft on Greene Street doesn’t have gutters. It has a roof drain buried under three layers of tar and a standpipe riser that has been corroding since the Nixon administration. The number one source of Water Damage Restoration calls we get from Lower Manhattan isn’t a hurricane or a burst city main. It’s a slow, ignored failure inside the building itself: a corroded riser, a cracked condensate line, a clogged roof drain that backed up over three rainy weeks until the ceiling finally gave way at 2 a.m. This checklist is written specifically for the building types that actually exist down here: pre-war co-ops with cast iron plumbing, post-war rentals with original risers, converted loft spaces with non-standard rough-ins, and high-rise condos where the mechanical room is shared and the responsibility is murky. By the time you finish reading, you’ll know exactly where to look, when to look, and how to document what you find so you’re not the one holding the repair bill when a neighbor’s leak becomes your problem.
Quick Answer
The Complete Guide to Damage Restoration in Lower Manhattan starts with prevention: inspecting your building’s internal plumbing systems (risers, condensate lines, appliance supply lines, roof drains) at least twice a year, with extra checks before winter’s freeze-thaw cycle and before hurricane season’s wind-driven rain. Homeowners in pre-war, post-war, and converted loft buildings should focus on cast iron drain lines, shared mechanical rooms, and HVAC condensation overflow, and should keep dated photo logs of any discoloration or moisture readings so an insurance adjuster has baseline documentation when a claim becomes necessary.
Table of Contents
- A Room-by-Room Checklist Built for Lower Manhattan Building Types
- Converted Loft Spaces: The Non-Standard Plumbing Risk
- Seasonal Timing: When to Run Which Checks
- Shared Mechanical Rooms and How to Escalate to a Co-op or Building Manager
- Documenting Your Baseline Moisture Readings Before Anything Goes Wrong
- Common Mistakes Lower Manhattan Homeowners Make
- When to Call a Professional
- Frequently Asked Questions
A Room-by-Room Checklist Built for Lower Manhattan Building Types
Every water damage prevention checklist should start with the reality of where you live. A detached house in the suburbs has a basement, a sump pump, and gutters. A Lower Manhattan co-op or condo has none of those things. Instead, you have a concrete slab under your floors, a cast iron riser running through your walls, and a roof drain that belongs to the building, not to you. That changes where you look and what you’re looking for. Here is the room-by-room breakdown, structured for the building types that dominate Lower Manhattan: pre-war co-ops (roughly 1900-1940), post-war rentals and conversions (1945-1975), and newer high-rise condos (post-1980).
Bathrooms: The Highest-Stakes Room in Any Pre-War Building
Bathrooms in pre-war Lower Manhattan buildings share a vertical stack: a single cast iron waste and vent line that runs from the penthouse to the sewer. When that stack fails, everyone on the line feels it. The failure is almost never sudden. Cast iron rusts from the inside out, so the pipe looks fine on the outside while the wall thickness thins year over year. What you can check: the grout and caulk around your tub, floor tile, and toilet base. Cracked grout is a pathway for shower water into the subfloor, and a loose toilet wax ring is the single most common source of slow, invisible leaks under bathroom floors, which eventually rot the subfloor and damage the ceiling below. In a post-war building, check the copper supply lines under the sink and behind the toilet. Copper pinhole leaks are common after 40 to 50 years, and the first sign is usually a blue-green stain on the pipe or a faint musty smell inside the vanity. We’ve responded to Lower Manhattan bathrooms where the leak had been running for months, hidden inside a wall cavity, because no one noticed the baseboard had started to pull away from the wall.
Kitchens: Appliance Supply Lines and Dishwasher Discharge
Kitchen water damage in Lower Manhattan apartments is almost always an appliance problem. The braided steel supply line behind the refrigerator has a rubber core that degrades after eight to ten years. The dishwasher discharge hose chafes against the cabinet frame and splits. The sink drain’s P-trap joint loosens from years of under-sink jostling. Run this check every six months: pull everything out from under the sink, dry the cabinet floor with a paper towel, and leave the paper towel there overnight. If it’s damp in the morning, you have a leak. Check the dishwasher’s lower access panel once a year. If you see rust on the motor housing or any water staining on the subfloor, the unit is leaking during its fill or drain cycle. In post-war Lower Manhattan galley kitchens, the drain line for the sink often runs horizontally inside the wall for eight to twelve feet before hitting the riser. That horizontal run, if copper or galvanized steel, is a prime candidate for pinhole leaks and is worth checking during any renovation opening.
HVAC: Condensate Lines and PTAC Drain Pans
In Lower Manhattan high-rises, most apartments use PTAC units (through-the-wall packaged terminal air conditioners) or fan-coil units fed by a shared chilled water loop. Both systems produce condensation. PTAC units drain through a small line to the building’s exterior, and when that line clogs with dust, algae, or insect nests, the water backs up into the unit and overflows into your wall cavity and floor. The same failure happens with fan-coil units, which drain into a condensate pan that then drains to a building waste line. We’ve seen Lower Manhattan condos where a clogged PTAC drain pan soaked the drywall below the unit for an entire summer, and the first visible sign was a baseboard that began to warp in August. Check your PTAC’s drain pan every spring, before cooling season. Pour a cup of water into the pan and confirm it drains. If it doesn’t, clear the line or call a pro. For fan-coil units, look for rust or standing water in the pan and report it to your building super immediately. The fix is often simple, but the ignored failure destroys floors and the ceiling below.
Ceilings and Walls: The Early-Warning System
Your ceiling is the first place a neighboring unit’s leak shows up, and your walls are the first place your own building’s leaks announce themselves. Once a month, glance up. Look for: a faint yellow or brown ring on the ceiling, especially around the base of any plumbing fixture above you; paint that has begun to bubble or flake in a defined circle; a section of drywall that feels cool or damp to the touch; and baseboards that have pulled away from the wall or developed a dark streak along the bottom edge. In pre-war Lower Manhattan buildings with plaster-over-lath walls, water damage doesn’t bubble the same way it does on drywall. Instead, the plaster becomes soft and powdery, and old water stains often appear as a brownish shadow. Tap the wall lightly with a knuckle. Dry plaster sounds solid. Water-compromised plaster sounds hollow and dull. If you find any of these signs near a riser line, stop and call. A small stain means the leak has been running long enough to saturate the material behind the paint.
Converted Loft Spaces: The Non-Standard Plumbing Risk
Converted loft spaces are the wild card of Lower Manhattan water damage. Buildings that started as manufacturing, warehouse, or printing spaces were converted to residential use under a patchwork of code variances and one-off plumbing rough-ins. Nothing is standard. The bathroom in a converted loft on Wooster Street might be sitting on a raised platform with the drain line running horizontally under the floor for twenty feet before it drops. The kitchen sink might drain through a pipe that was installed in 1987 and was never inspected before the building’s conversion. The water supply lines might be a mix of copper, brass, and PEX, connected with fittings that don’t match and corrode at the joints.
In our experience, converted loft spaces fail in three predictable ways. First, the horizontal drain runs under raised floors, because the original concrete slab sits too low for standard gravity drainage. Those long horizontal runs are more likely to clog, and when they clog, the backup has nowhere to go except up through the lowest floor drain in the space. Second, the original building’s plumbing risers were sized for industrial use, not residential, so the conversion often tapped into lines with adapters that are now thirty years old and at the end of their service life. Third, many loft conversions put the bathroom in the center of the space, far away from the building’s structural columns, which means the vent lines were oversized and the drain traps often dry out. A dry trap lets sewer gas and-during a heavy rain event-sewer backup enter the space.
If you own or rent in a converted loft, add these checks to your routine: inspect any exposed pipes under raised floors with a flashlight every quarter; run water in every fixture you don’t use often (guest bathrooms, wet bars, utility sinks) once a month to keep traps full; and pay special attention to the ceiling directly below any bathroom or kitchen, because a loft’s horizontal drain runs create ceiling damage that appears far from the actual leak source. Water damage restoration in Lower Manhattan often starts with diagnosing a source that’s nowhere near the visible stain in a converted loft.
Seasonal Timing: When to Run Which Checks
Lower Manhattan’s water damage calendar follows the seasons, but not the seasons you might expect from a suburban checklist. The two highest-risk windows are the late-fall freeze-thaw cycle and the late-summer hurricane season. Between those, there are specific weeks when specific checks matter more.
Before Winter: Late October Through Early November
Freeze-thaw is the enemy of every exposed or semi-exposed pipe in a Lower Manhattan building. The pipes that burst are not inside your heated apartment. They’re the ones running through exterior walls, through unheated stairwells, along the building’s roof, and inside the mechanical penthouse. Before the first hard freeze, check every sink and shower along an exterior wall. Put your hand on the wall while the water runs. If the wall feels significantly colder than the rest of the room, ask your super whether the pipes in that wall cavity are insulated. Check all exposed pipes in closets, mechanical rooms, and the basement if you have access. Insulate any that feel cold to the touch. Verify that your building’s roof drains are clear of leaves and debris, because a clogged roof drain in a November rain storm is a guaranteed interior leak. And if you have a terrace or balcony, check that the drain is clear and the waterproofing membrane isn’t cracked. Once water gets under a failed membrane, the freeze cycle will lift the membrane off the slab and the damage spreads fast.
Before Hurricane Season: June Through Mid-July
Lower Manhattan sits in the direct path of Atlantic hurricane remnants, and the damage pattern is distinct: wind-driven rain enters through window perimeters, failed roof flashing, and any gap in the building envelope. Before hurricane season, inspect your window frames and sills for cracked caulk, missing glazing putty, and rot. In high-rise buildings, wind-driven rain often enters through the HVAC louver or PTAC sleeve, so check the weatherstripping around your through-wall unit. Check the roof drain again, even if the building staff said they did it. After any heavy rain event, walk your apartment and look for new stains along window edges and ceiling corners. Document everything with a dated photo, even if the stain is small. If a bigger event comes later, that photo log is your proof that the leak started earlier and wasn’t part of the claimed event.
After Adjacent Construction Begins or Ends
There is almost always a construction project happening near your Lower Manhattan building. Excavation, piledriving, and even heavy demolition vibration can crack old cast iron drain lines, shift mortar joints, and open gaps in waterproofing that had been stable for decades. When a construction project starts adjacent to your building, do a full moisture walk-through the week before the heavy work begins. Document your baseline. Then repeat the walk-through monthly while the project is active. Pay special attention to any new hairline cracks in walls, ceilings, or floor tiles, especially near riser lines and exterior walls. If you spot new cracks, date them, photo them, and report them to your building manager in writing. That written record matters if a damage claim later involves the adjacent property owner’s insurance. Wade’s Restoration home has guidance on how to document pre-existing conditions before construction starts.
Shared Mechanical Rooms and How to Escalate to a Co-op or Building Manager
In a Lower Manhattan co-op, condo, or rental, the mechanical room is where your building’s water supply, heating, and drainage systems converge. It’s also where water damage often begins. The problem is that most homeowners never see the mechanical room, and when they do, they don’t know what they’re looking at. The most common mechanical room failures we see in Lower Manhattan buildings are: corroded gate valves that no longer fully close, which means a small leak can’t be isolated without shutting down the entire riser; rusted expansion tanks on the domestic hot water system, which fail by cracking and flooding the room; sump pit pumps that haven’t been tested in years, which fail exactly when the pit is full; and floor drains that have been painted over or sealed during a previous renovation.
Here is the escalation path that actually works, step by step:
- Put your concern in writing. Send an email to your building manager or super with specific observations: what you saw, when you saw it, and where it’s located. A vague “there might be a leak” gets deprioritized. “There is a visible rust drip on the expansion tank in the mechanical room on the 4th floor, southwest corner” gets addressed.
- Ask for a specific inspection date. Don’t accept “we’ll look into it.” Ask: “When is the plumber scheduled to inspect?” If no date is given, follow up in one week.
- Reference your proprietary lease or condo bylaws. Most Lower Manhattan co-op proprietary leases require the corporation to maintain building systems in good repair. Quoting that section changes the conversation.
- Document with photos and keep a written log. If the building manager says the issue was fixed, verify. If it wasn’t, your log is the evidence you’ll need if the problem becomes a damage claim.
- If the board or manager is unresponsive, consult a tenants’ rights attorney or a building inspector. Water damage from ignored mechanical room failures is preventable, and the cost of the attorney is a fraction of the cost of a full restoration.
If you’re a board member or building manager reading this, the single most valuable thing you can do is schedule an annual inspection of every gate valve, expansion tank, and floor drain in your mechanical rooms. Fire and smoke damage restoration in Lower Manhattan shares a similar principle: the systems that protect you fail quietly, and the failure only becomes visible when it’s expensive.
Documenting Your Baseline Moisture Readings Before Anything Goes Wrong
Here’s the thing almost no one tells Lower Manhattan homeowners: when you file a water damage insurance claim, the adjuster will ask the same question every time: “Was this area wet before the event?” If you can’t prove it wasn’t, the claim gets questioned. The way to answer that question is with baseline moisture documentation, and it costs less than fifty dollars and one afternoon of your time.
Buy a pinless moisture meter. The ones we use on our job sites, from manufacturers like Dri-Eaz and Phoenix, cost hundreds of dollars and are calibrated for professional use, but a simple homeowner-grade pinless meter for forty to sixty dollars will do the job. Walk your apartment and take readings in these specific locations: the drywall behind your toilet, the wall cavity behind your dishwasher, the baseboard along every exterior wall, the ceiling drywall under every plumbing fixture above you, and the floor under your washing machine, if you have one. Write the reading down, along with the date and a photo of the meter on the wall. Store that log somewhere you’ll actually find it later. If you ever need to file a claim, those baseline readings are the single strongest piece of evidence you can hand an adjuster.
We take moisture readings every single day on every restoration job, and we hand the homeowner the full log at the end. Almost nobody in this trade does that. The reason is simple: a moisture log tells the truth. If you start your own log before anything goes wrong, you’re doing the same thing: building a record that protects you from being blamed for a problem you didn’t cause.
Common Mistakes Lower Manhattan Homeowners Make
- Painting over a water stain without finding the source. The stain comes back, but now it’s hidden under a fresh coat of paint, and the leak has had six more months to rot the drywall or plaster behind it. Find the source first, dry the cavity, then paint.
- Assuming the building’s insurance covers your unit’s interior. In most Lower Manhattan co-ops and condos, the building’s master policy covers the structure, and your individual unit owner’s policy covers your finishes, contents, and betterments. If you’ve renovated your kitchen or bathroom, you likely need a betterments endorsement, or you’ll be underinsured by tens of thousands of dollars.
- Ignoring a small drip from the ceiling because “it’s not that bad.” By the time water shows up on your ceiling, it has already saturated the material above. The drip is the last stage of the leak, not the first.
- Waiting for the building to fix a shared riser problem before drying out your own unit. Your mitigation is your responsibility. Document, report, and then start drying. The building’s slow response doesn’t stop mold from growing behind your walls while you wait.
- Using a dehumidifier that’s too small for the space. Lower Manhattan apartments have high ceilings and old plaster walls that hold moisture for weeks. A small residential dehumidifier won’t pull enough water out of the air to prevent secondary damage after a leak. You need professional-grade equipment like the Dri-Eaz and Phoenix units we run, sized for the cubic footage of your space.
- Not keeping a written record of every communication with the building. Verbal conversations with the super don’t hold up when an adjuster asks what was done and when. Keep the emails.
- Assuming a newly renovated apartment has new plumbing. Renovations in Lower Manhattan often replace the finishes and leave the original 1960s supply lines and cast iron drains in place behind the walls. Ask your contractor specifically whether the plumbing was replaced or just reconnected.
When to Call a Professional
Some water problems you can handle with a wrench and a bucket. Some you cannot. Call a restoration professional immediately if you see: water coming through a ceiling or light fixture, which means there’s an energized electrical risk; water that has been standing for more than 24 hours, which is the window where mold begins; any water that has touched carpet, drywall, or insulation, because those materials need professional drying or removal; sewage backup of any kind, which is a biohazard; or a leak you cannot locate within 30 minutes of searching. Mold remediation in Lower Manhattan is another situation where waiting makes the problem dramatically more expensive. Wade’s Restoration offers free estimates in Lower Manhattan, and Wade’s team can have extraction running inside the hour when the call comes in. Call (607) 350-1550 and you’ll talk to a live person, not a queue.
Frequently Asked Questions
Run a full room-by-room check twice a year, in early spring and late fall, with extra focused checks before winter freezes and before hurricane season. A monthly 60-second ceiling and baseboard glance catches most developing problems before they become full leaks.
The first sign is often a dark stain on the ceiling below the bathroom, or a baseboard that starts to pull away from the wall near the riser. Cast iron drain lines fail slowly from the inside, so by the time you see water, the pipe has been compromised for months or years.
Typically, the building’s master policy covers the structure and common elements, while your individual unit owner’s policy covers your interior finishes, personal property, and any improvements you’ve made. If you’ve renovated, your unit policy needs a betterments endorsement or you’ll be undercovered.
Yes. A basic pinless moisture meter for $40 to $60 is adequate for baseline documentation. Take readings behind the toilet, behind the dishwasher, along exterior baseboards, and under plumbing fixtures, and record each reading with a photo and date.
An old water stain is dry to the touch, has a defined edge, and doesn’t change over time. An active leak stain feels cool or damp, has a soft edge, and grows or darkens. You can also compare a photo taken today with one taken two weeks ago. If the stain changed, it’s active.
Wade’s Restoration answers calls 24/7 with a live person, and Wade himself can often have extraction running inside the hour for Lower Manhattan locations. Call (607) 350-1550. Estimates are free, and there’s no trip charge inside the county.
The Bottom Line
Water damage in Lower Manhattan is rarely the dramatic flood you see on the news. It’s the slow, quiet failure of cast iron risers, clogged roof drains, cracked condensate lines, and forty-year-old appliance supply lines, all hidden behind walls and above ceilings in buildings that were never designed for modern plumbing loads. The homeowner who avoids the worst of it is the one who checks deliberately, documents consistently, and escalates to the building in writing when something looks wrong. Keep a baseline moisture log. Know your building’s weak points. Check seasonally. See our more guides & resources for year-round maintenance schedules. And when water does show up, move fast, because the difference between a small dry-out and a full restoration is measured in hours, not days.
Written by Wade Ferris, Owner at Wade’s Restoration, serving Lower Manhattan since 2007.